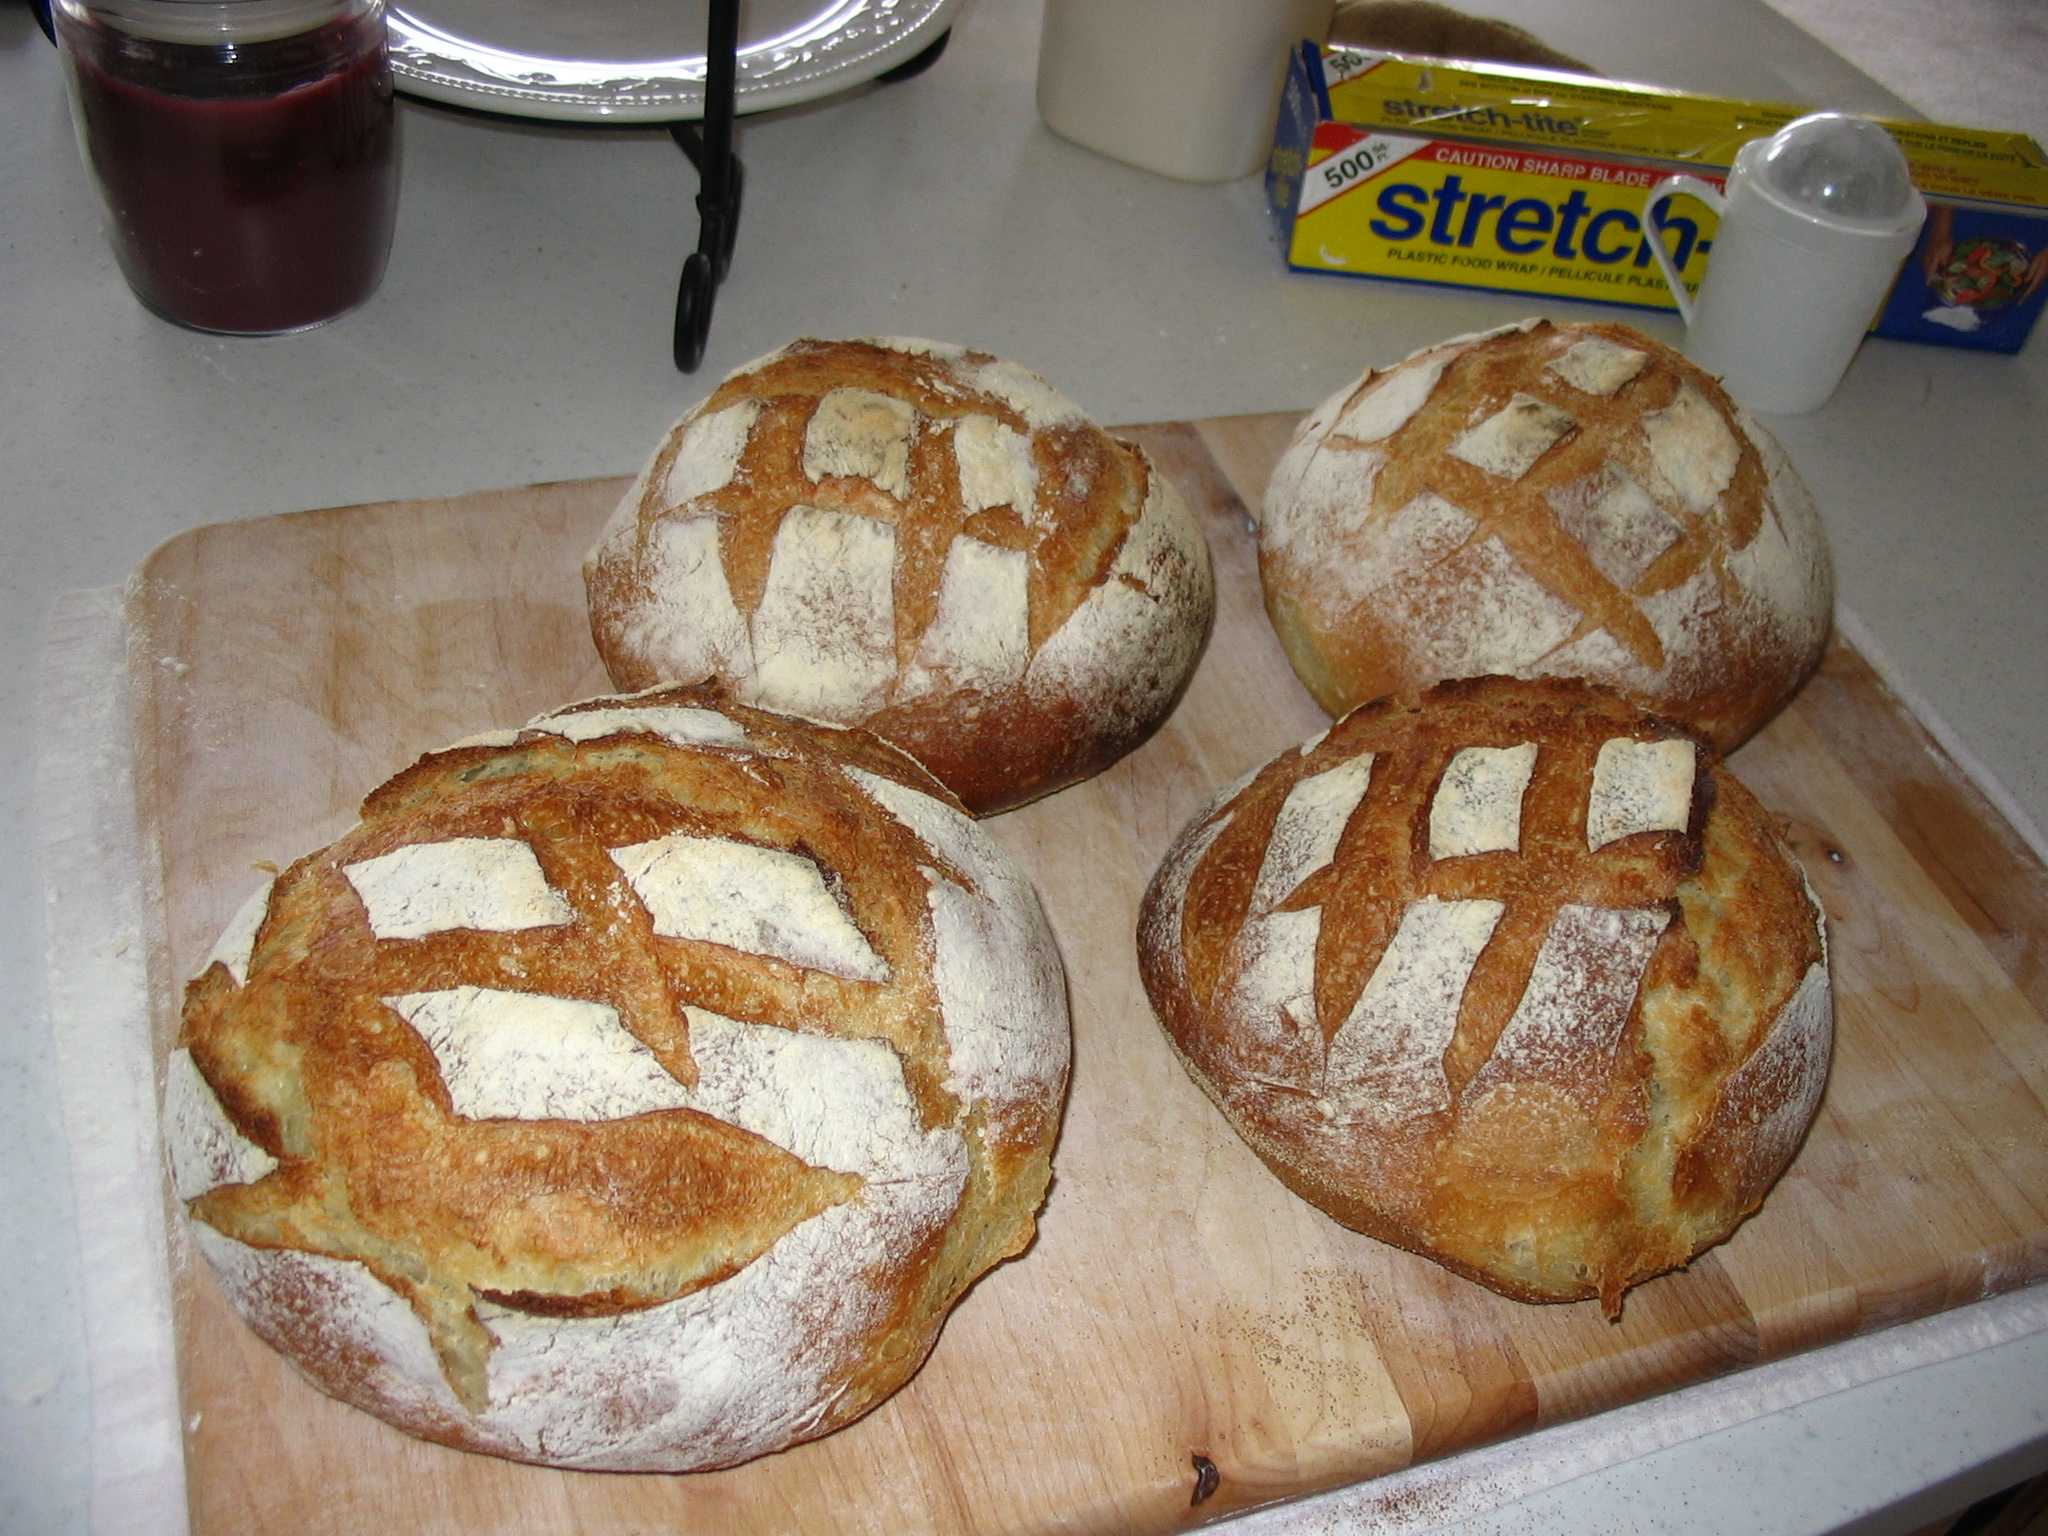
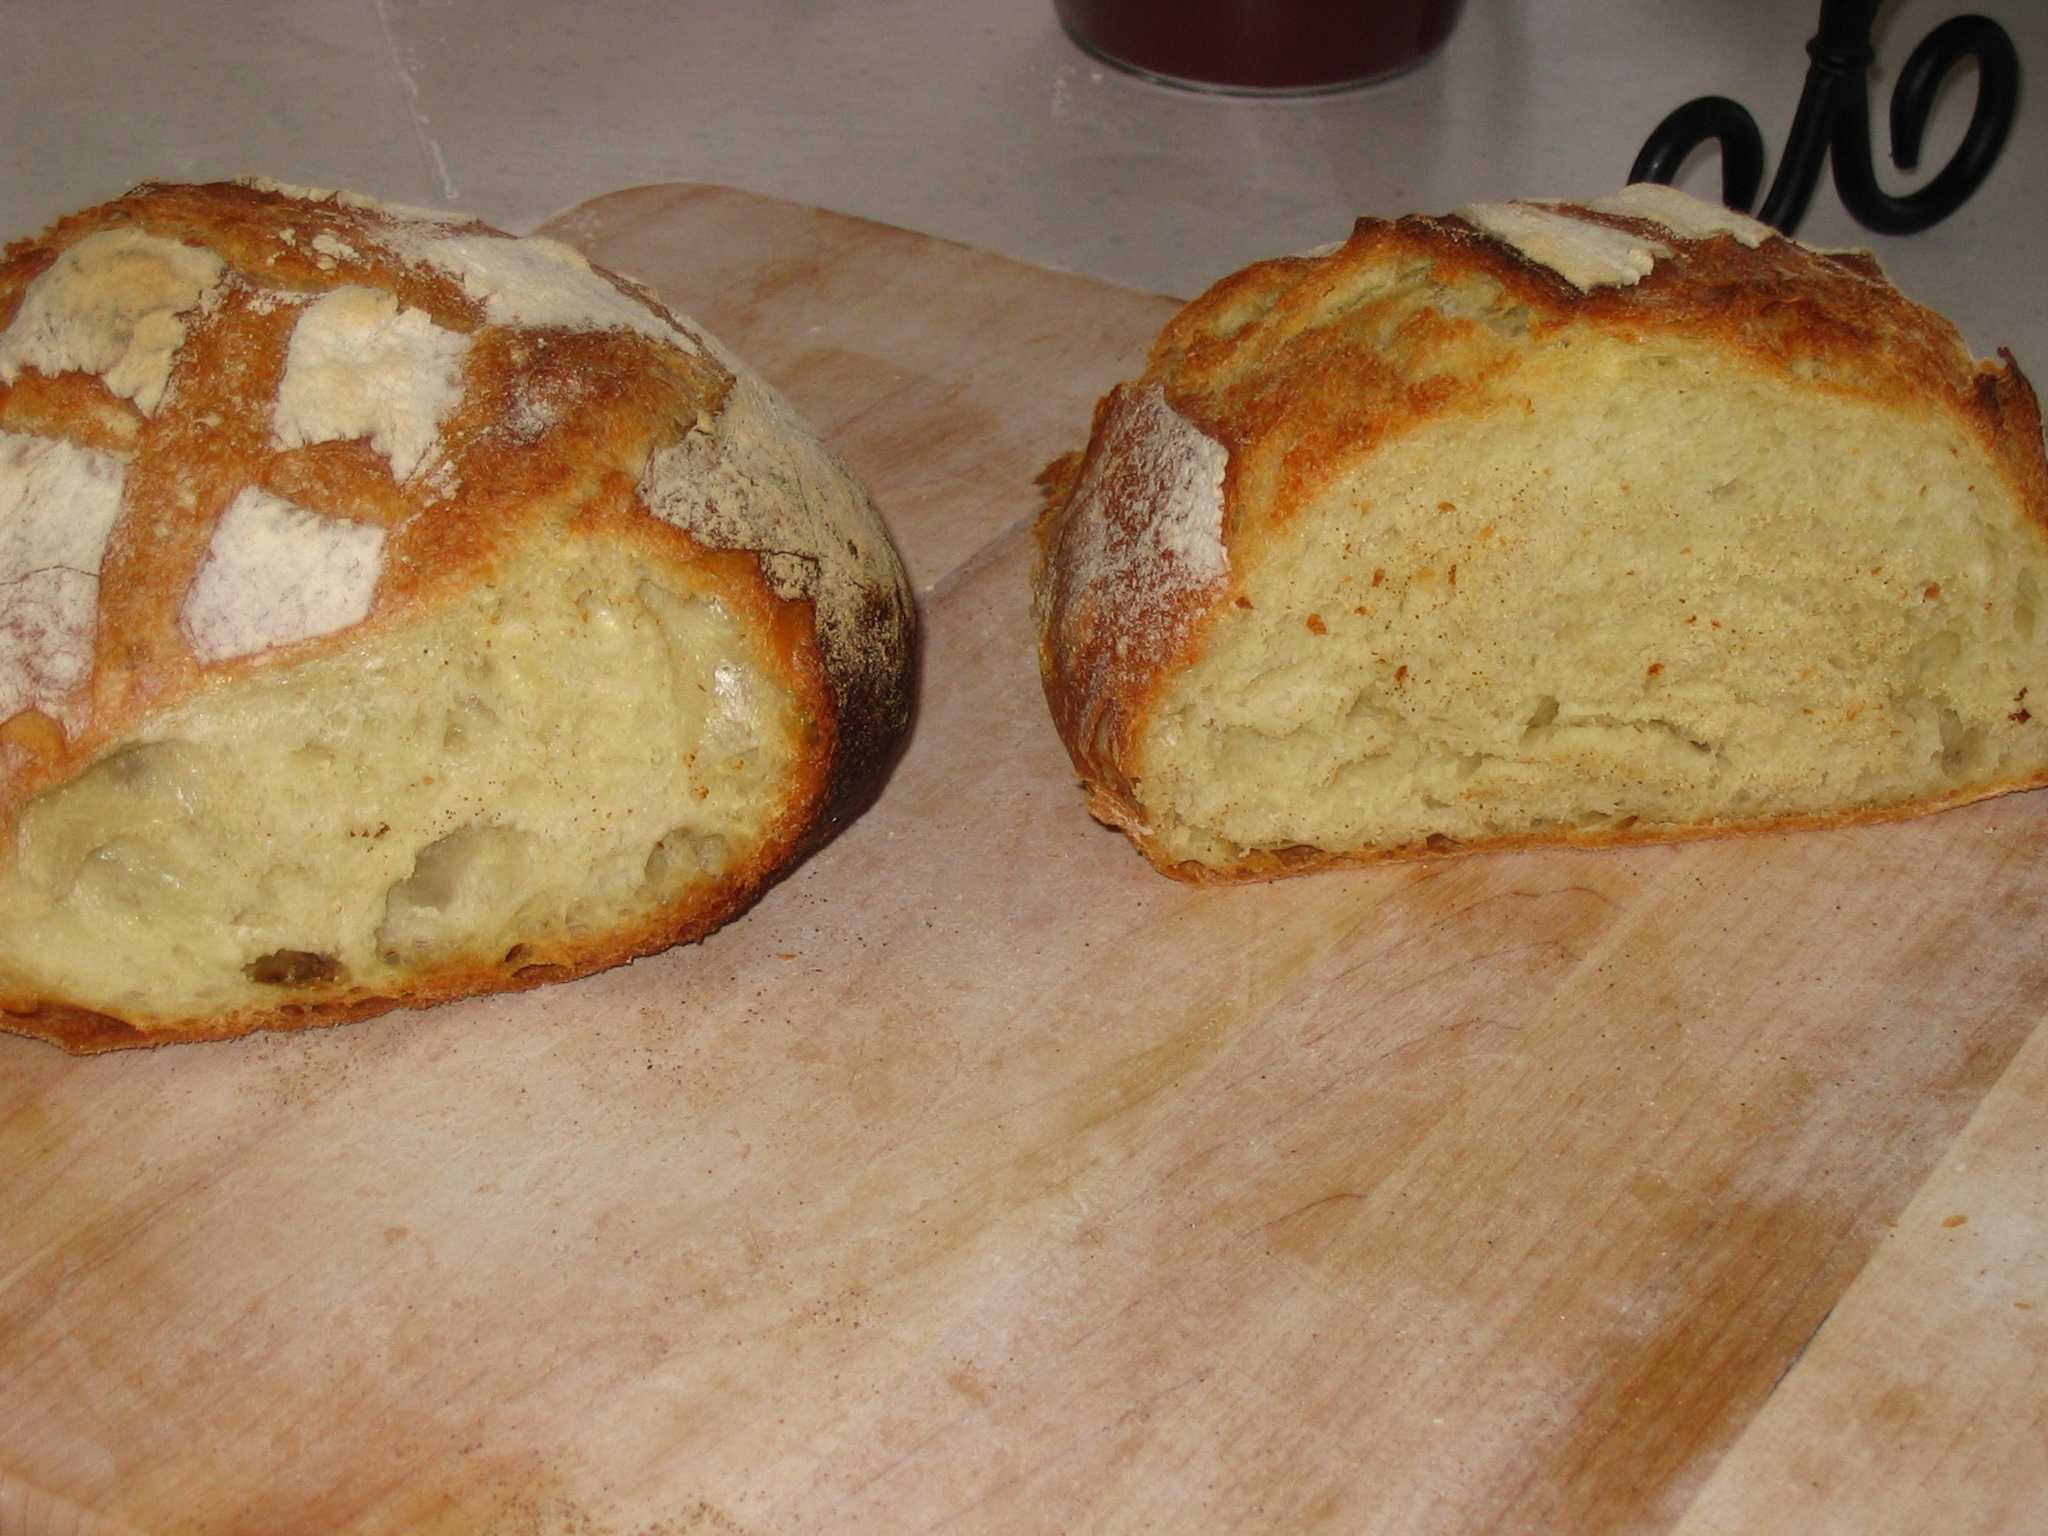
This used to be my definitive recipe for bread-making. It makes a rustic, country loaf of the sort that Americans refer to as "artisan bread." I want to thank the folks at King Arthur Flour of Vermont for giving me the secret to the second Holy Grail of good bread-making. I had long discovered how to make a good crust, but for 15 years, my crumb continued to disappoint me and keep me ever far from France and good bread. That exile is over now, my bread far surpasses that of the French bakery in the valley here.
If you are looking for theory, history or still more information on bread-making, please see my page on bread theory. You can also consult my former bread recipe and a French make-your-own-bread site. See my original study site for King Arthur's recipe and method, which I follow pretty closely, but not identically here. In fact, theirs isn't the only way to make good bread, but it's one way.
From dough to oven is about 3½ hours. Add 30-60 more minutes and baking day is roughly a 4½ hour commitment during which the longest time you can absent yourself is 45 minutes. Most of that time, however, you aren't actually doing anything more than waiting for the dough to rise. The actual time of physical effort, including mixing, kneading, shaping and cutting plus set-up and cleaning of your kitchen, will be between 30 and 45 minutes.
Click here for an over-view of the time-line for this recipe. Click on any of the illustrations here to get a close-up of my evolving bread.
It is not necessary to use King Arthur or any other kind of "high-grade" flour. I personally use generic, Western Family® unbleached flour sold at a very low price in a 25-pound bag by my local grocer.
Oil is considered a contaminante. Don't use any, even to keep the dough from sticking to the fermentation/raising container. The DVD and the woman who presented the class demonstrated techniques for avoiding cooking spray:
Yield
2 large or 4 small loaves totalling about 2 pounds depending on humidity and bake time.
Ingredients
| Pouliche | ||
|---|---|---|
| 1¼ cup | filtered water | |
| 8½ oz | all-purpose, unbleached flour | |
| pinch | active dry or instant yeast | |
| Dough | ||
| 1 cup | water | |
| 1½ tsp | active dry or instant yeast | |
| 1½ tsp | (mounded) Kosher salt | |
| 13-15 oz | flour |
Pouliche

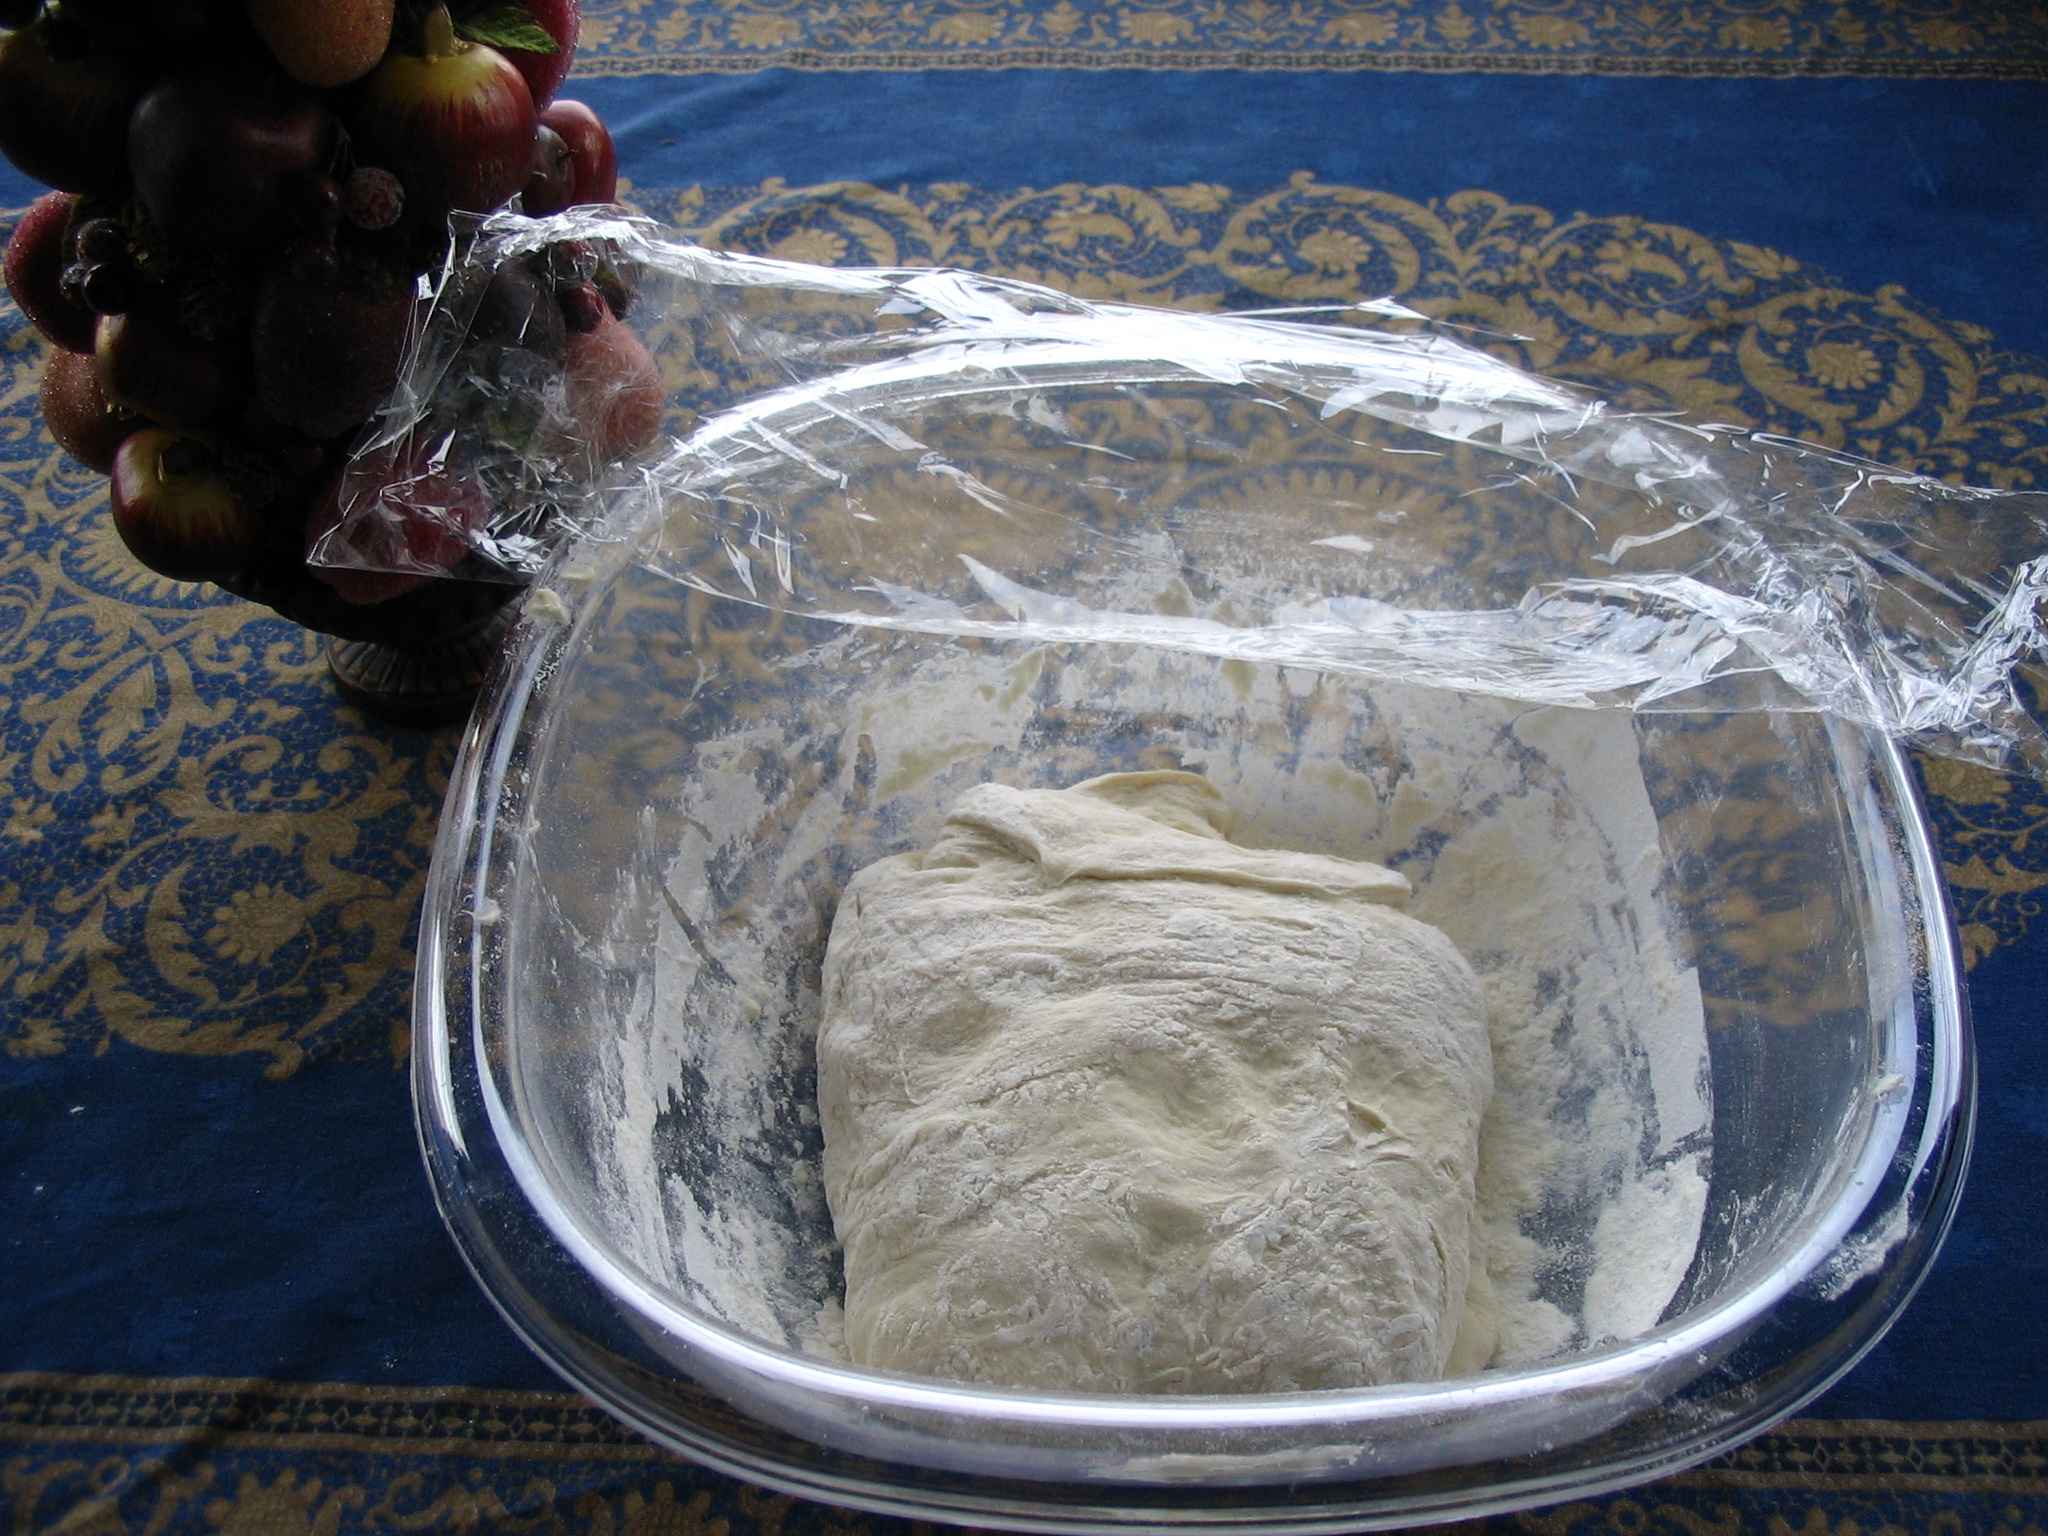
1. Combine pouliche ingredients and mix until well blended. Cover and let rest at room temperature overnight. The pouliche should become ærated and spongy. It will look quite wet, with a bubbly surface laced with creases once it matures.
The pouliche is essential to the taste of the bread. In the absence of sugar, honey, etc. as mixed into other sponges, it develops lactic and other acids that contribute to a great flavor. The pouliche is a prefermentation or pâte fermenté. It's unclear how much effect this sponge has on the rest of the flour and how much consequent flavor develops during raising and fermentation at folding time.
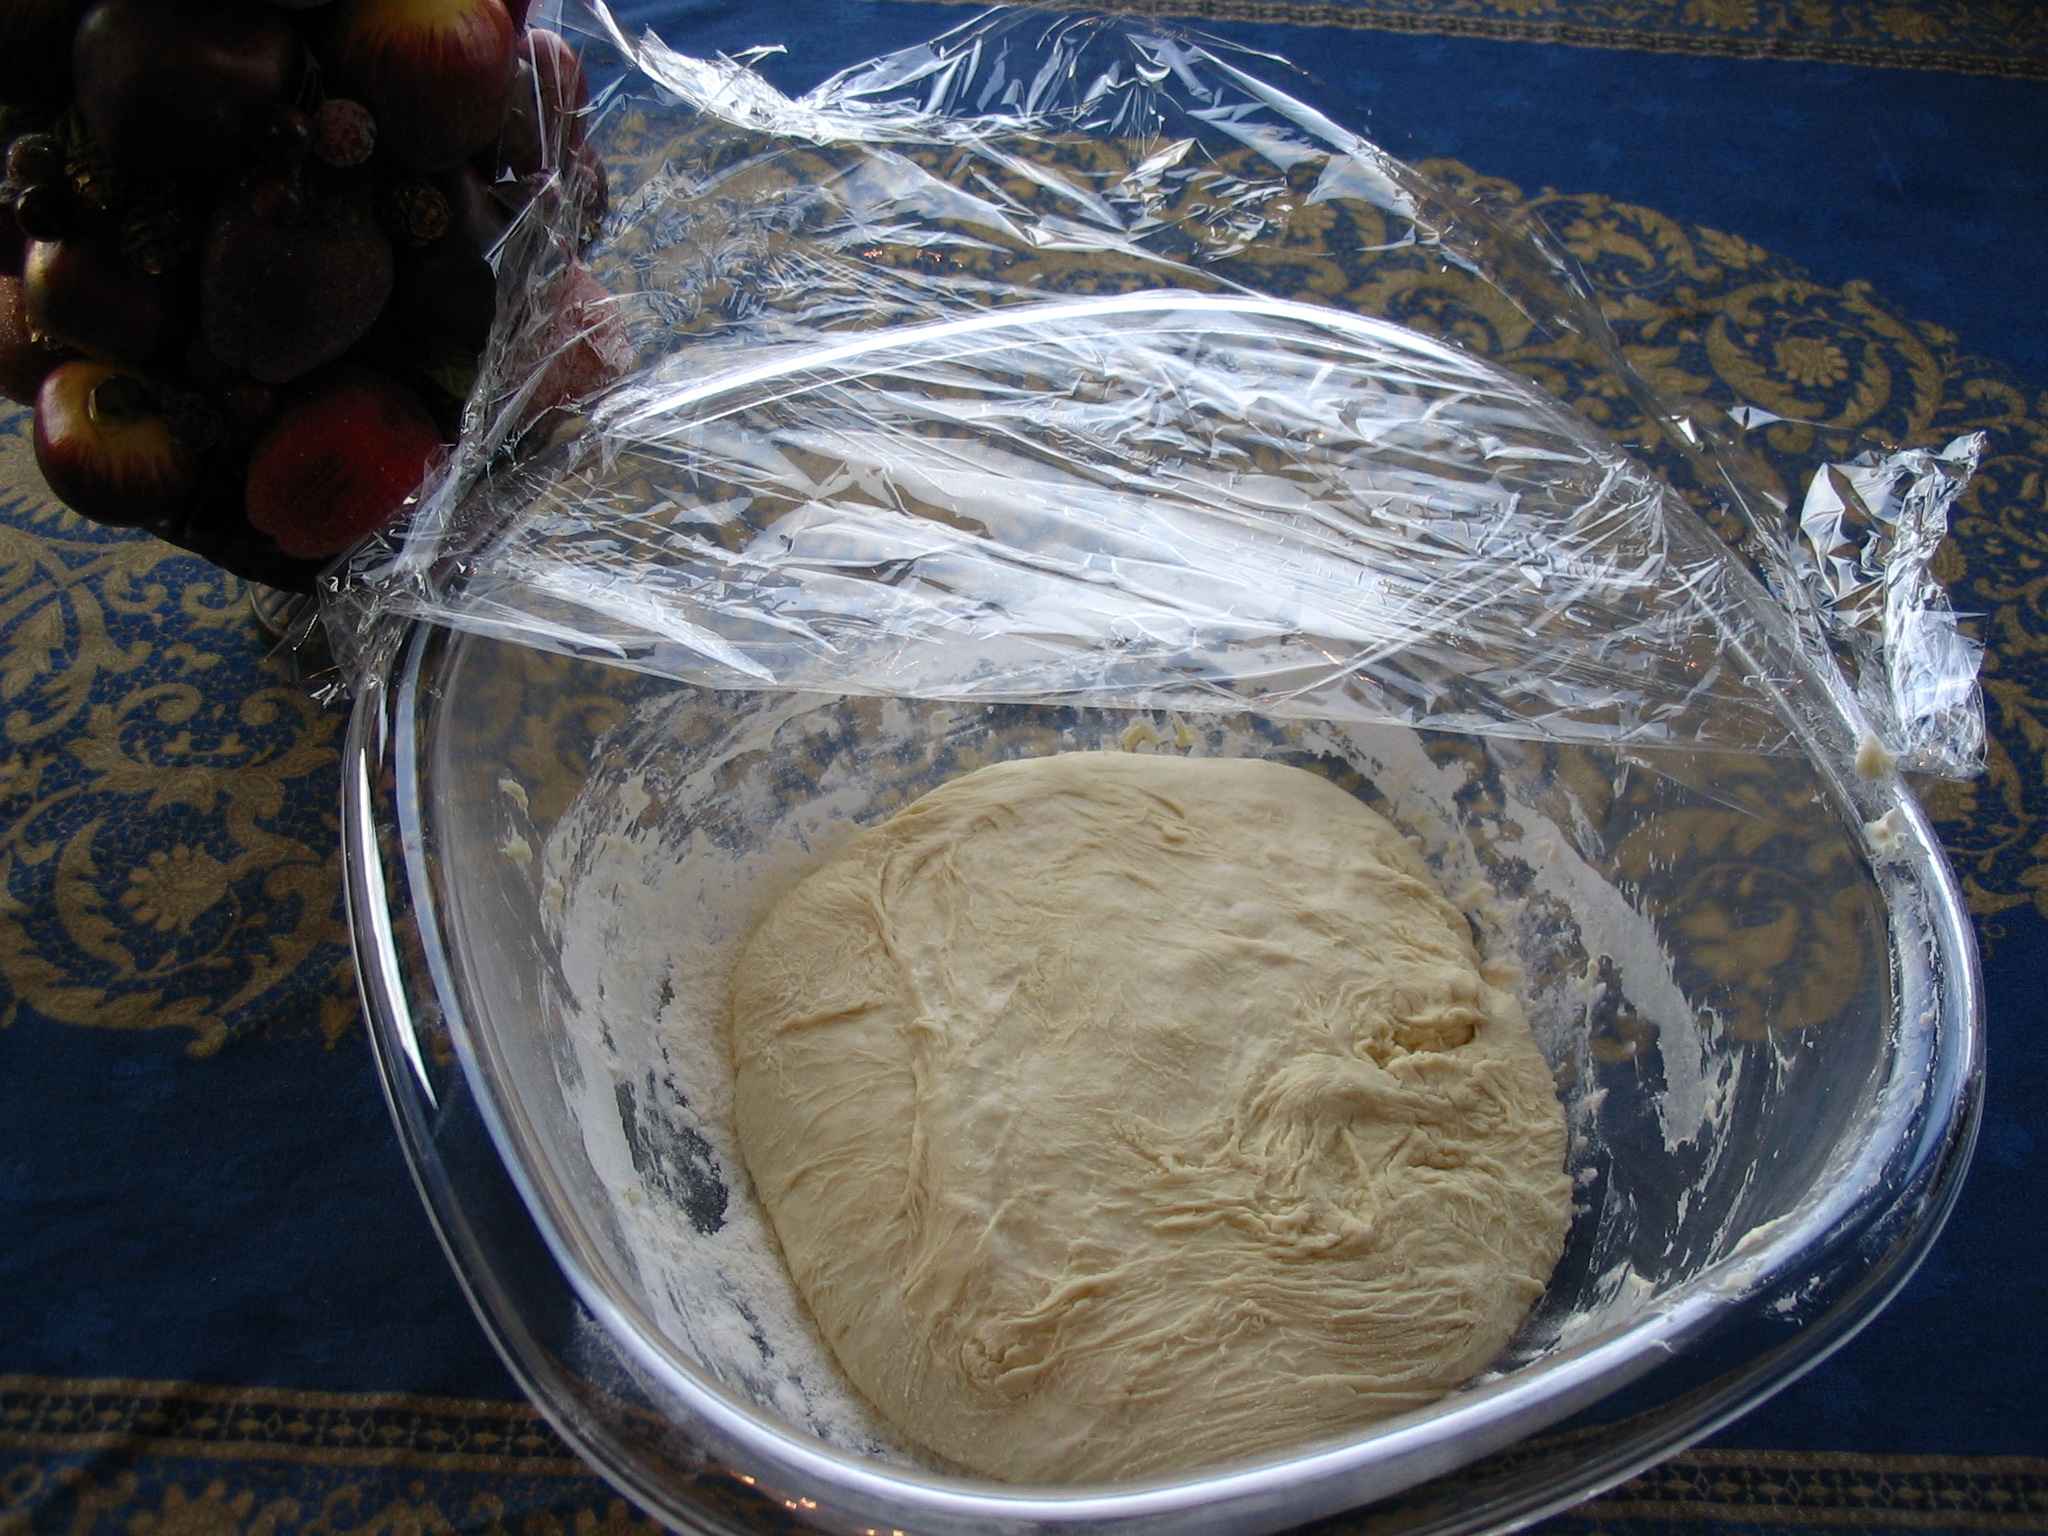
While I use clear plastic wrap in these pictures to show the pouliche, dough and loaves, I use a large, white shower cap that fits neatly over my dough bowl and, later, clean dish towels over the preshaped, shaped and rising loaves (pâtons) instead of plastic wrap which has the nasty habit of sticking to almost anything not greasy or heavily floured that it touches.
Dough (pâte)
Shown here are the pouliches I made for three batches of bread. You have probably made the pouliche in a smaller bowl than is necessary for making the bread. To remove the pouliche from its bowl, pour the recipe water around the edges of its container to flow down around the pouliche and sink to the bottom floating it. At that point, it should mosly plop out into the mixing bowl with minimal scraping required.
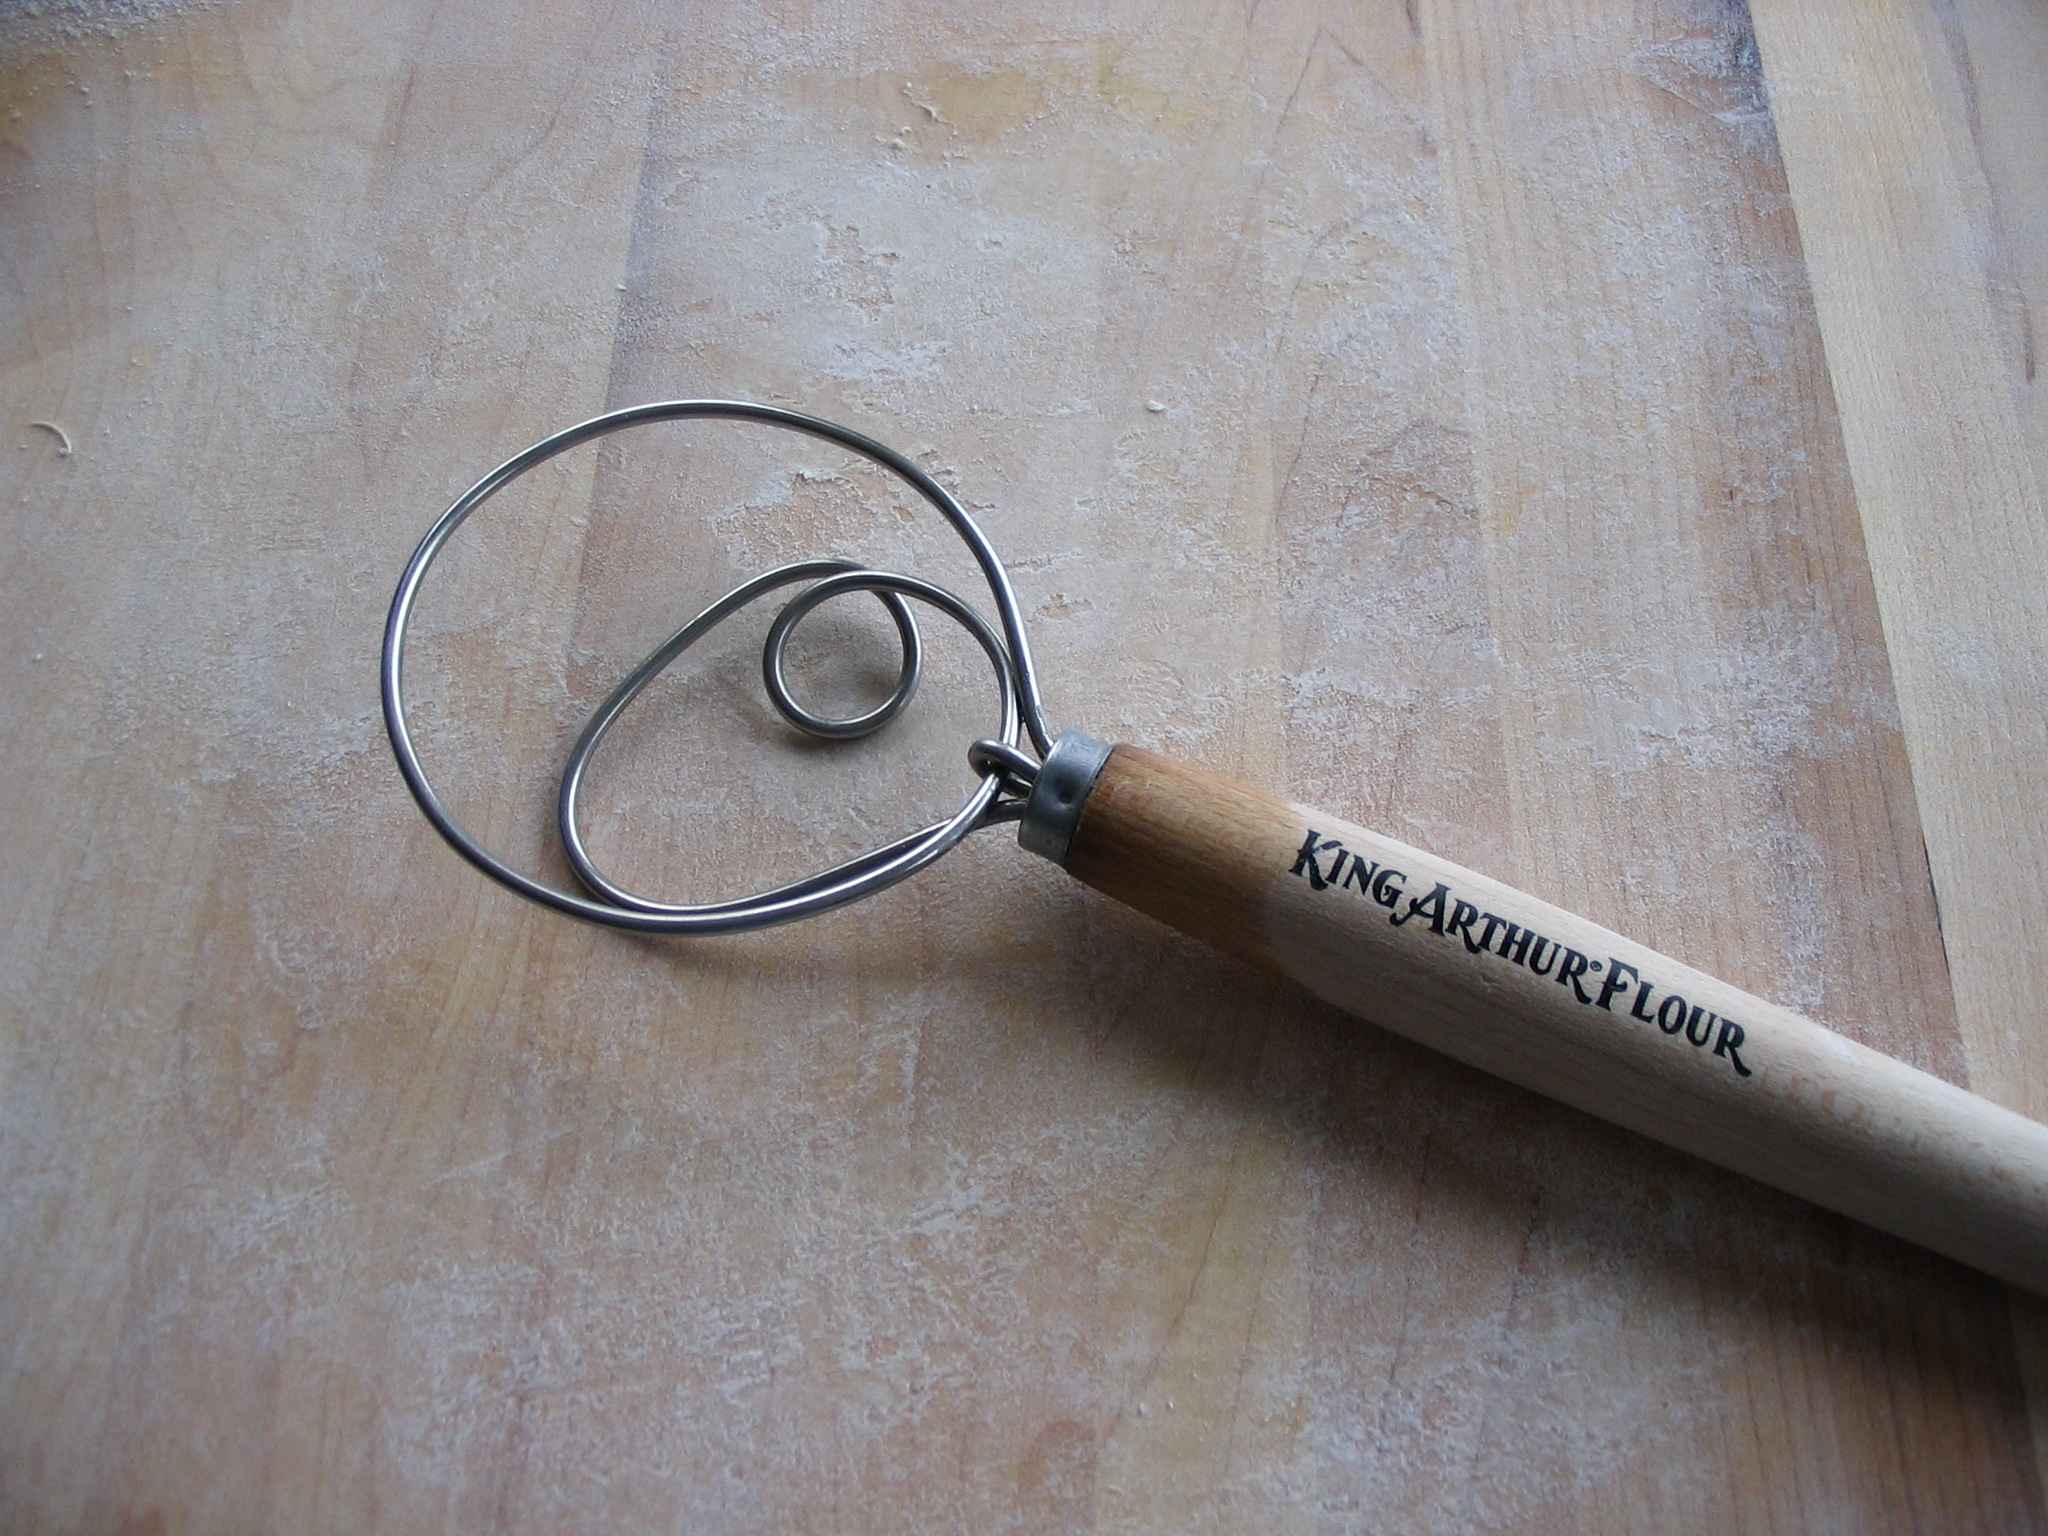
In a large bowl, combine the risen pouliche, water, salt and yeast. Mix thoroughly with a wisk (shown at right) or very strong wooden spoon. Thorough mixing before adding the flour will avoid using the kneading for distributing these ingredients throughout the flour.
Add enough flour to make soft, wet dough, a little more than ¾ of what is called for in the ingredients above. Turn out onto a lightly floured board and knead dough gingerly until it becomes smooth. Use a lift and pour motion either away from or toward you. The dough will remain very tacky, tending to stick to the fingers and the kneading surface. At this point, you must resist the temptation to add more flour than the recipe calls for. A dough scraper in one hand can help manipulate the dough. Dust the bottom of the bowl, return the dough to the bowl, cover with plastic wrap and a clean towel. Let rise 45 minutes.
As you get the dough out from the bowl and work on it, make certain your work surface is clean with only dusted flour on it—no hard, dried-out dough bits.
Fold
To remove the dough from the mixing bowl ready to fold, sprinkle a little flour around the edge of the dough, just as you poured water around the edge of the pouliche, and tuck it down past the sides of the dough ball and under the bottom using a scraper to to release it from the bowl. Turn it out onto a lightly floured kneading surface.
Gently stretch and barely pat the dough flat. Fold the dough in thirds, like a letter. Turn dough 90° and repeat the folds. Pick up the folded bundle, invert it, and place gently back, folds-down, into the bowl. The dough will be noticeably tighter. Cover with plastic wrap and and clean towel for 45 minutes.
Repeat this process again avoiding using more flour if possible. Let it rise another 45 minutes.
Preshape (pâtons)
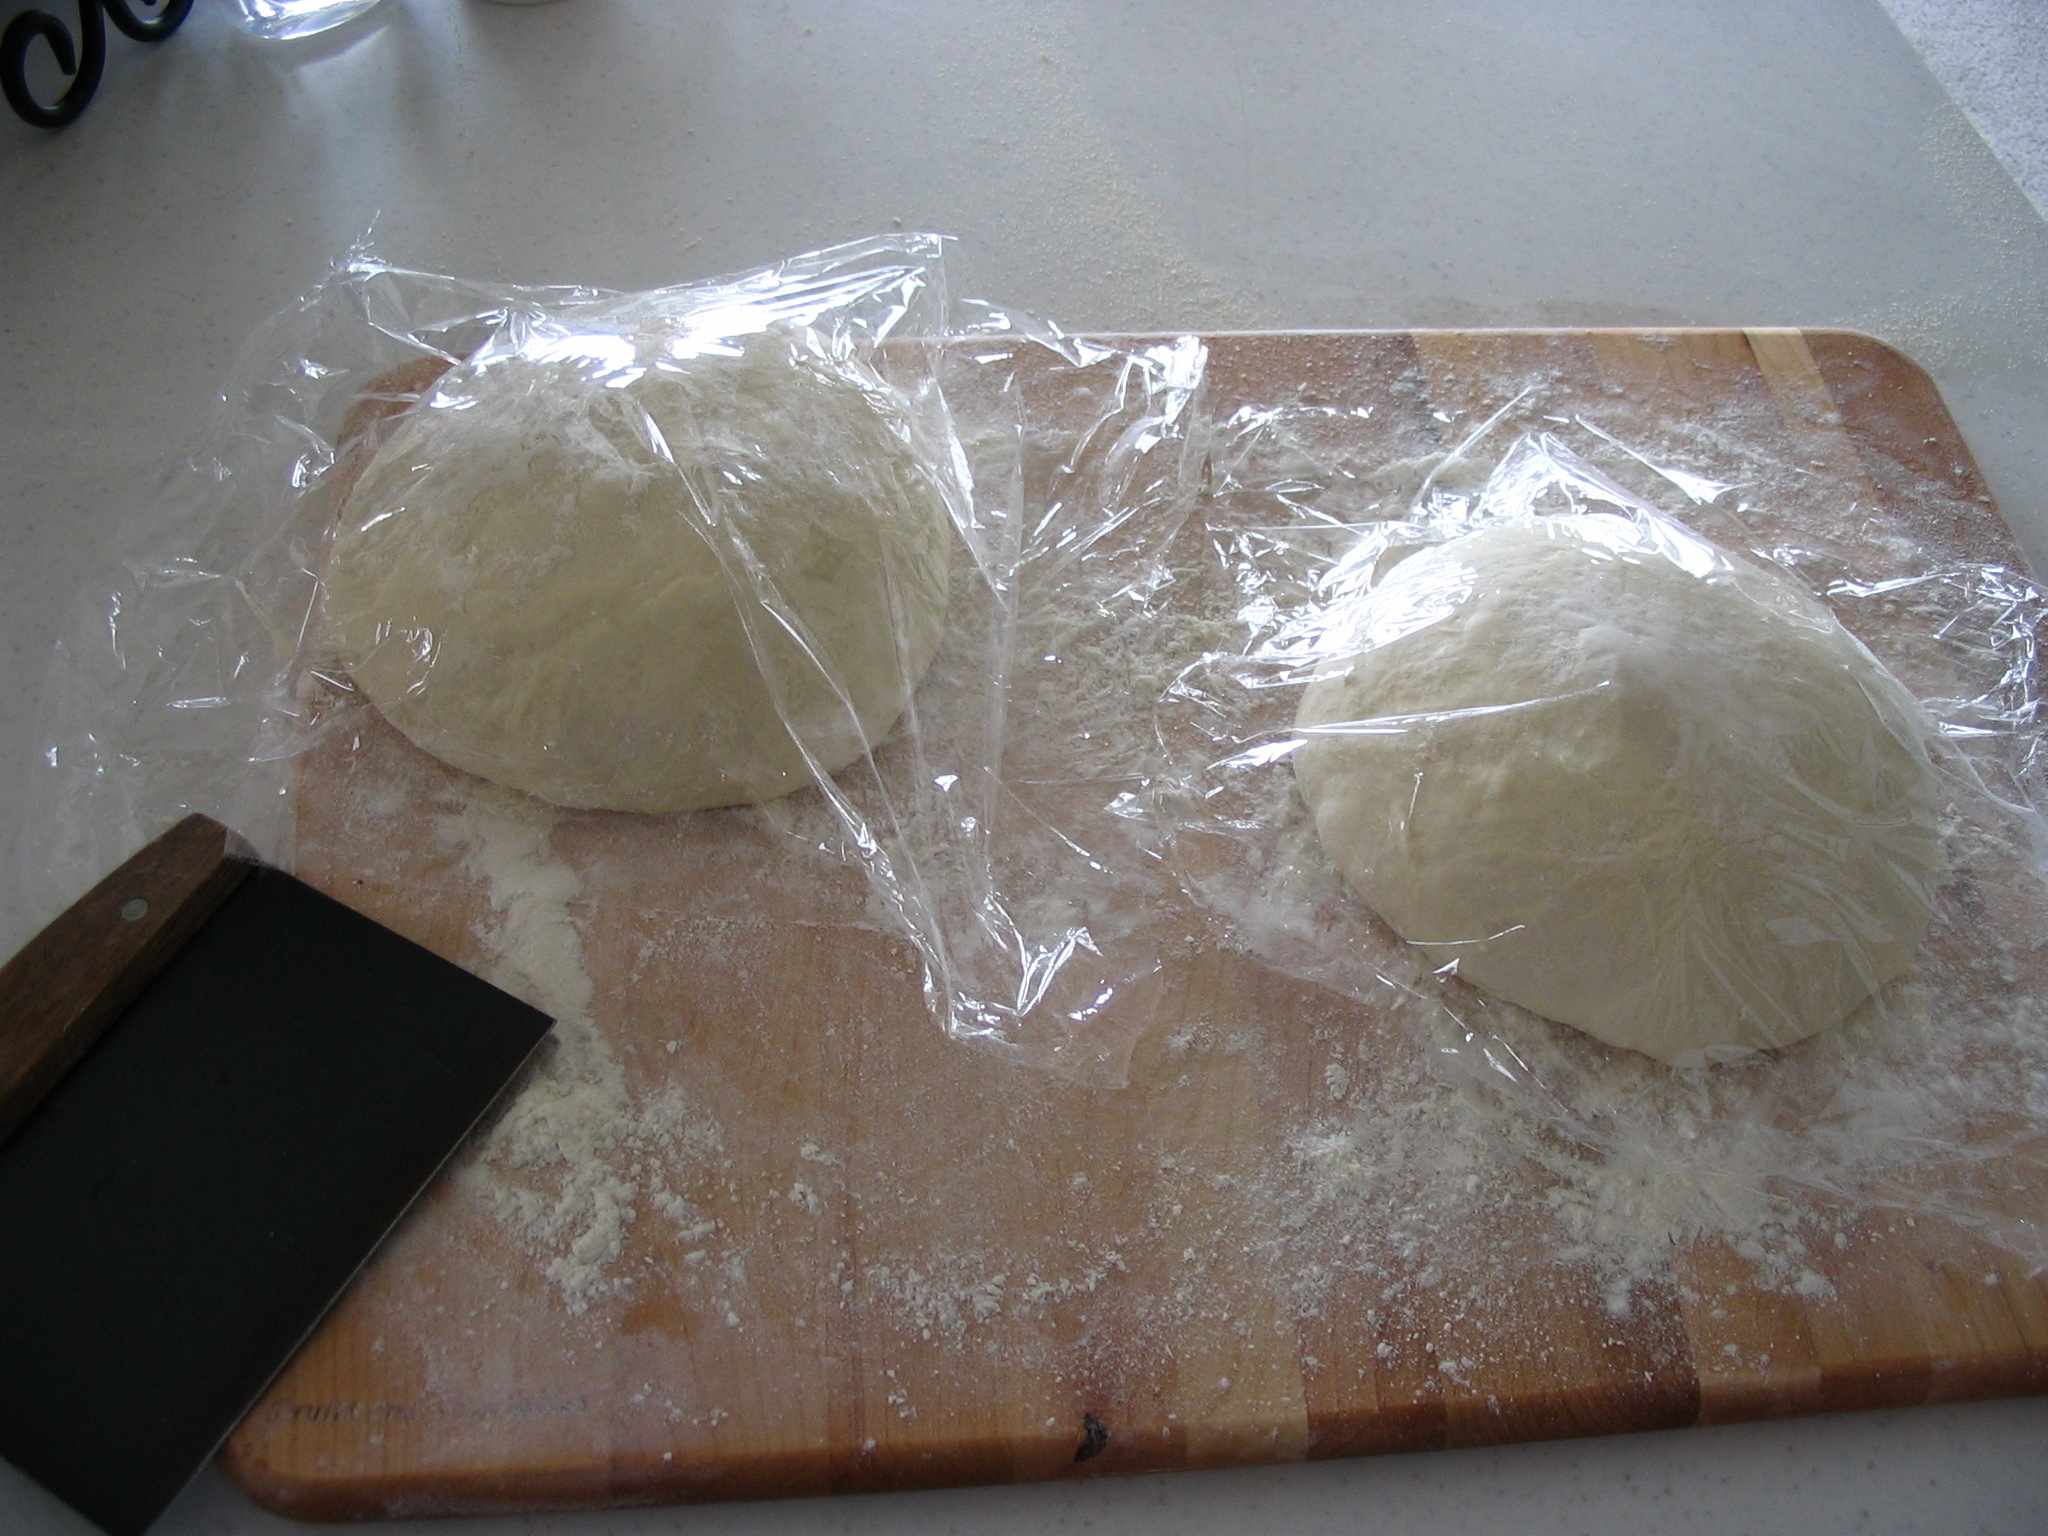
Gently invert the dough onto a lightly floured work surface. Using a bench knife, divide it in half and gently preshape each into rounds by drawing the edges togther so that one side becomes the smooth outer surface, while the other side of the ball has all the edges drawn together. Cover and let rest on a lightly floured surface for 20 minutes.
Whether you are going to make baguettes or round loaves, this ball (in French, pâton) is the shape to start with.
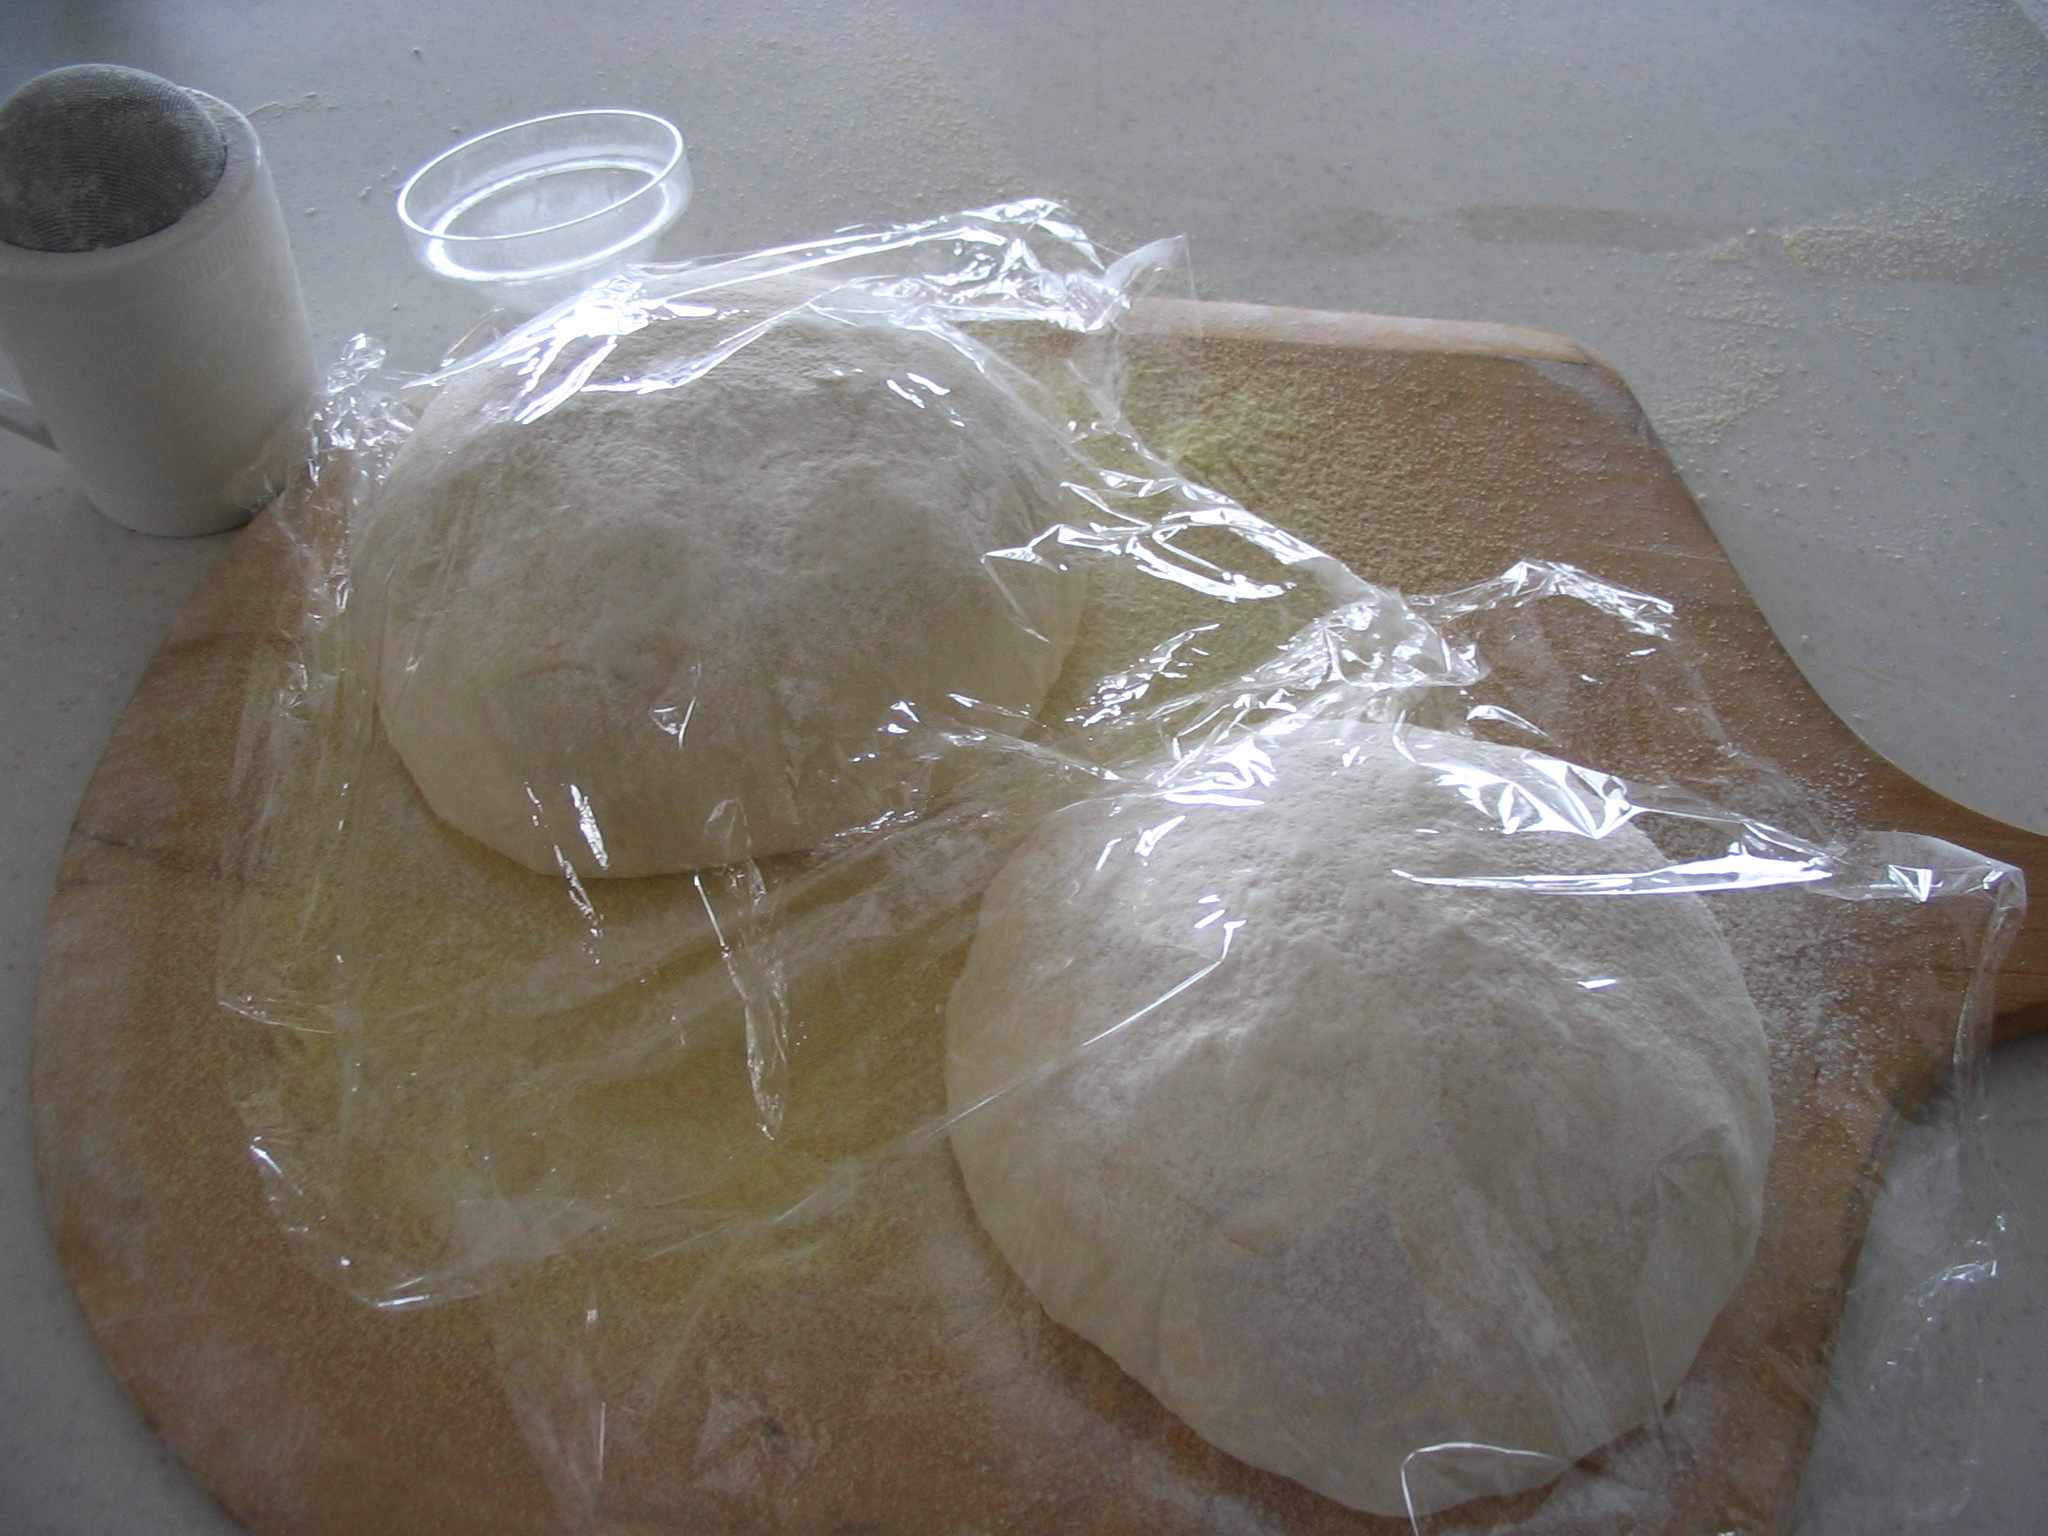
Here you see I put enough flour on top of the loaves to keep the plastic wrap from sticking. In fact, this isn't such a good idea because it contributes to drying out the dough. I have variously resorted to light towels instead of plasic or turning a large bowl upside down on top of the loaf/loaves. I can't say, however, that dusting with flour has really damaged the loaves, but then I've never made the perfect loaf.
Shape
Prior to this last step in preparing the bread for baking, preheat the oven with baking stone and a small cast iron skillet inside to 500°.
Shape the dough as desired, meaning into a simple round loaf, a baguette, épi or something else, and set on a couche (tighly woven, floured linen cloth) for a baguette or just a peel if a round loaf. The peel should have a substantial coating of sprinkled semolina or corn meal. Cover and let rise until dough is not quite doubled in bulk, 40-45 minutes. At this point, your oven has preheated at least 40 minutes, your stone is very hot and your skillet ready to make some steam.
Depending on the type of loaf you wish to make, you must adjust what flour you put on your work surface. You don't want the dough to stick and get torn away from it (and degassing), but you need the friction to realize the sort of loaf you want. Experimentation will prove the right amount.
Rises
A few words on the rise, especially the final one. If you push your finger a little in to the dough and it springs right back out, there is still a lot of rise left in the dough and you can wait for it. If it doesn't spring back at all, it should be in the oven and, in fact, it's a little late because getting it off the peel will deflate it and it may not rise or not as much. If it springs slowly back out, there's still time to work with it.
Bake
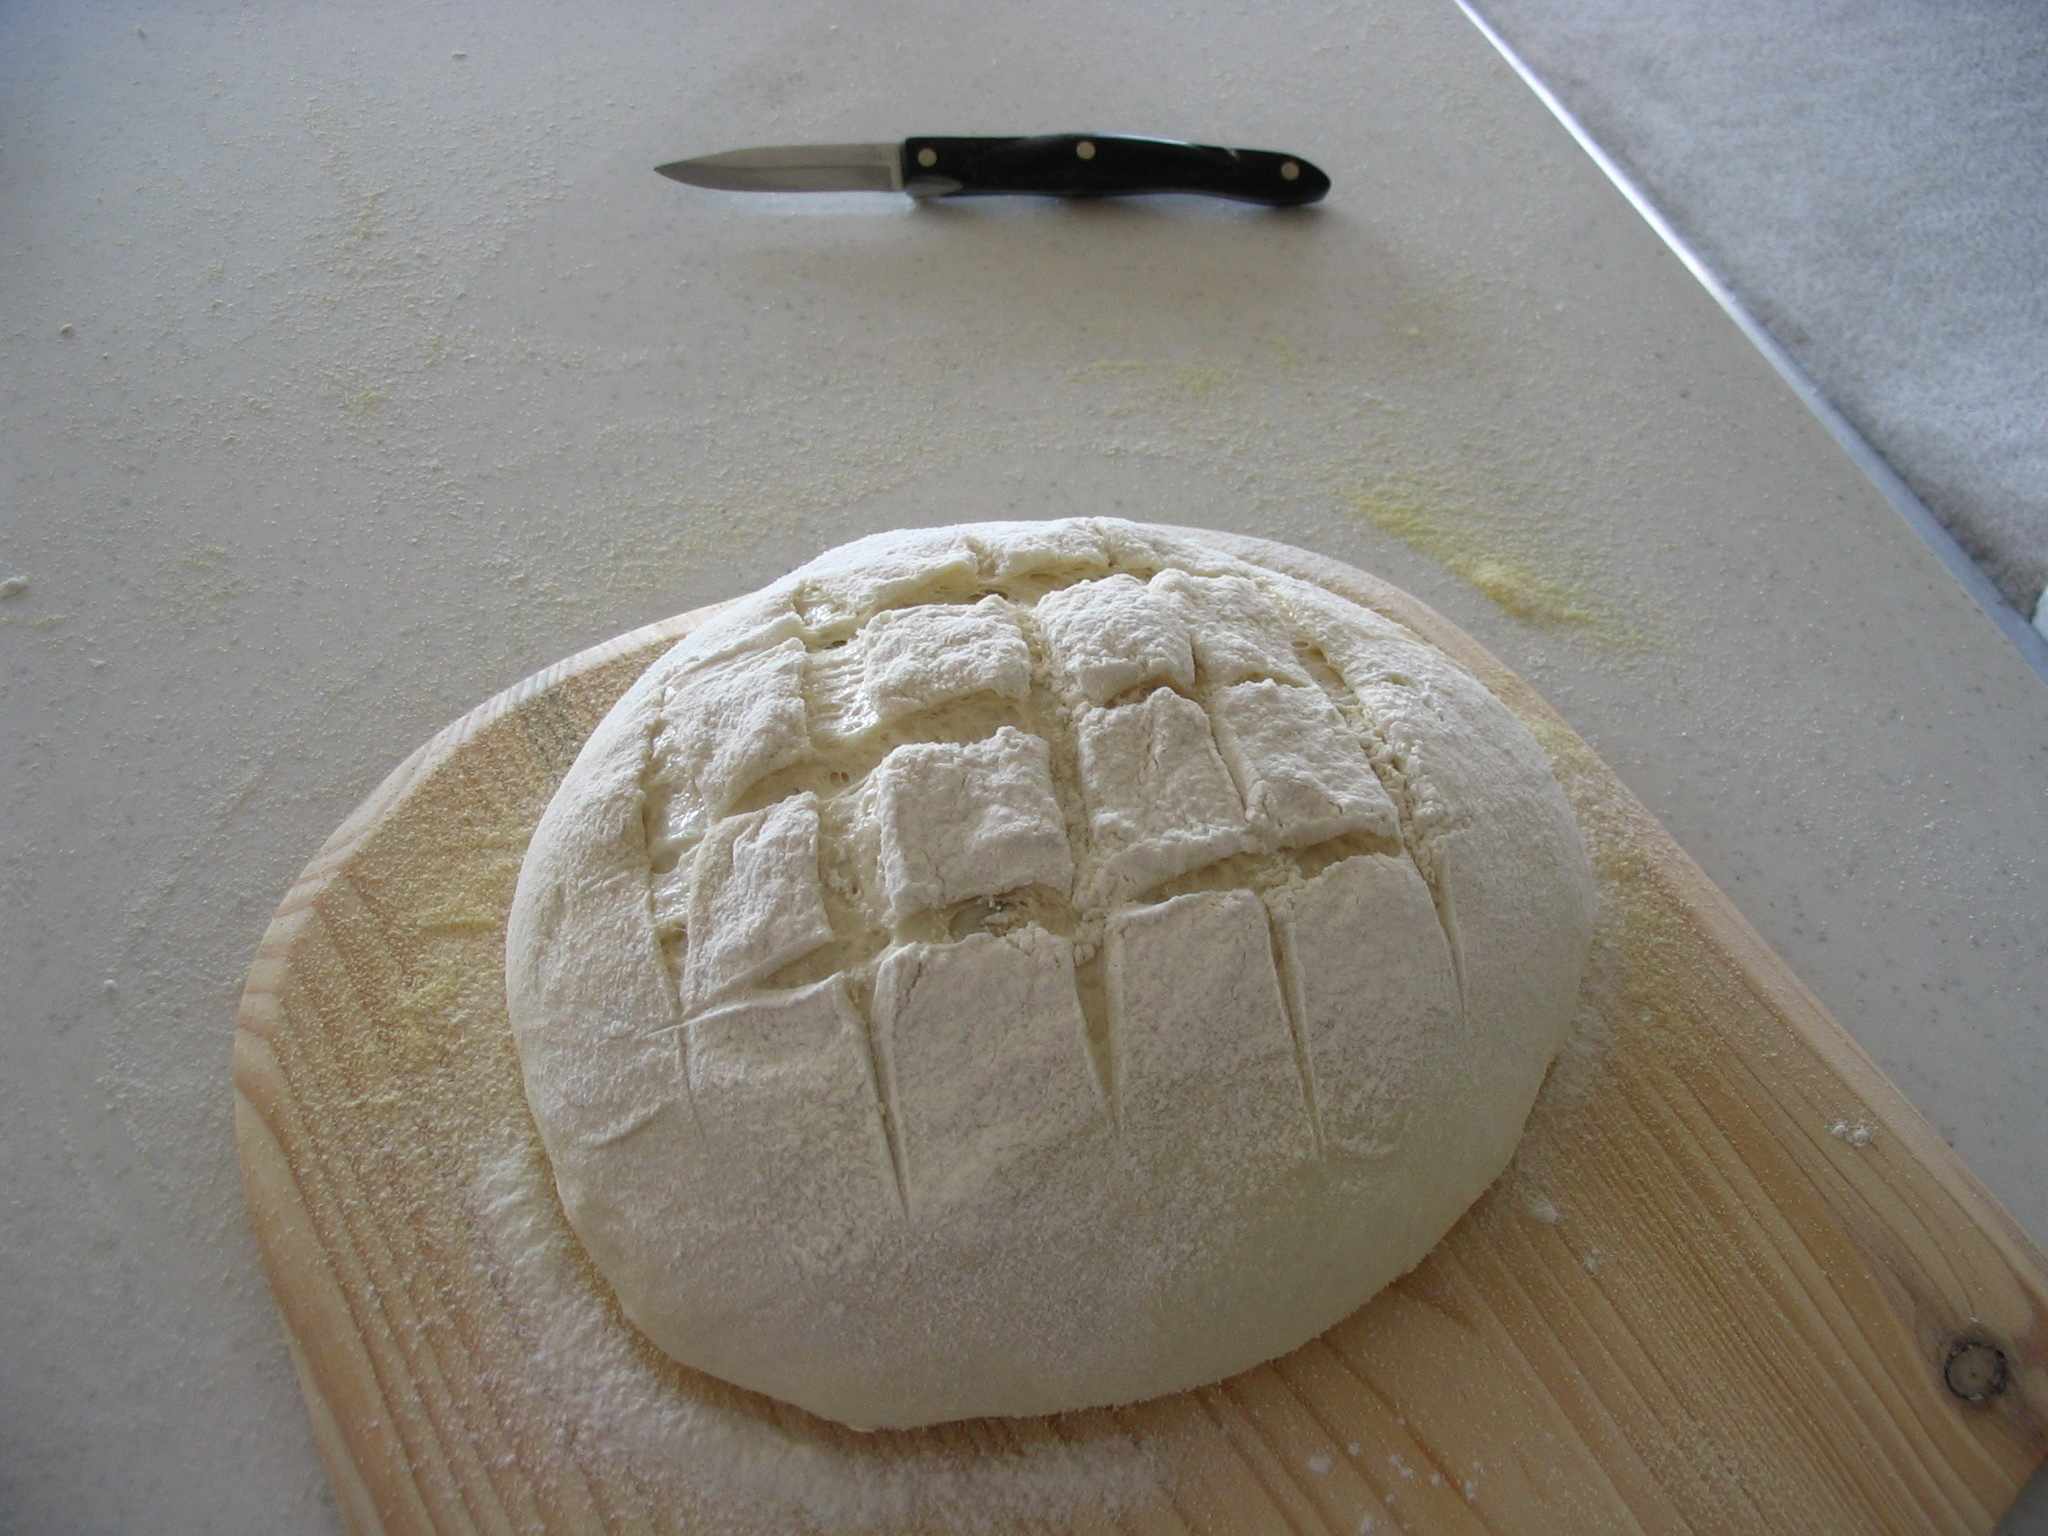
Just before baking, if you like, you can dust the loaves with a small layer of flour from a sieve (as illustrated here and by the finished loaves at the top of this page).
For a yet more decorative effect, you can create a mask, like a pine tree or other figure, set it on the loaf, sprinkle the flour, and then slash carefully to avoid deforming it.
Then, slash the loaves. Slide them onto the baking stone, fill the oven with steam by pouring ½ cup of boiling hot water into the cast iron skillet* and close the door.
Bake for 5 minutes and reduce temperature to 475° until done, about 25 minutes. Internal temperature should reach 205° at sea level, less at higher altitude (where I live, my bread is burnt if it reaches 205°). Do not underbake, however.
Variations
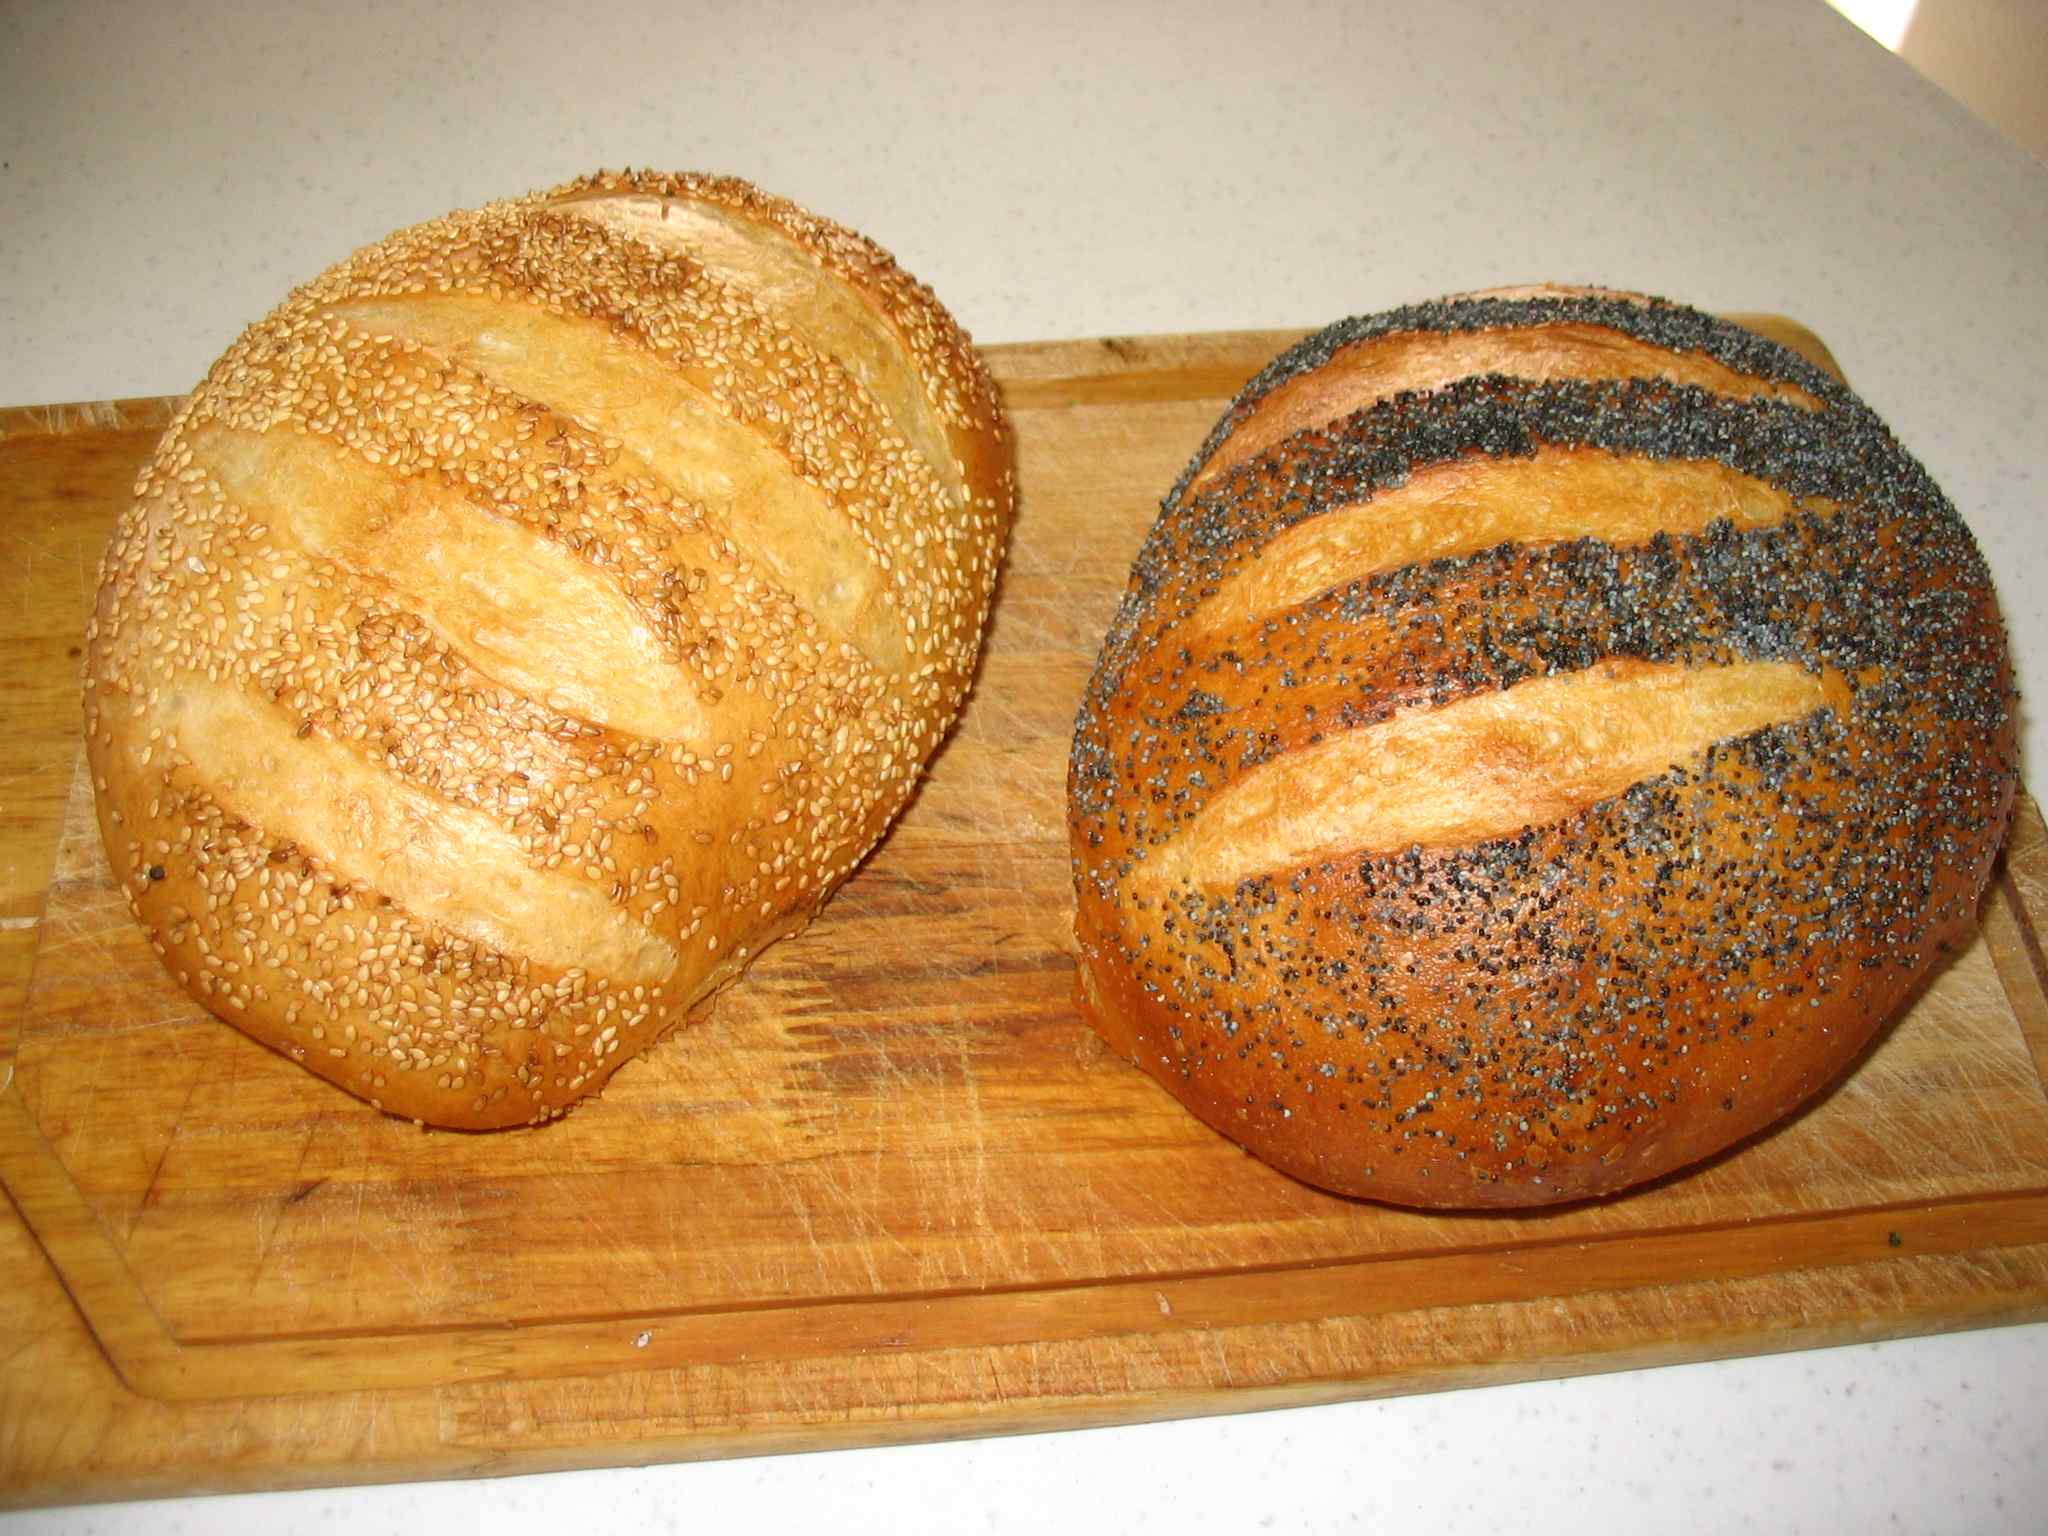
I don't think much of putting things into my bread. If I want garlic in it, I'll add it afterward. Same for cheese, spices, nuts, etc. I will, however, produce a seeded crown as I like the taste of sesame or poppy seeds as well as the decorative effect.
To produce a seeded crown, change nothing in the recipe. Just prior to slashing the top, however, beat one egg white well with a few drops of water. Brush carefully, but thoroughly the entire top of the raised loaf. Immediately sprinkle seeds upon it—which will stick. Slash the loaf, then put it into the oven as usual.
* This will ruin the temper of your skillet. Plan accordingly. I use a tiny cast-iron skillet for which I have no practical need; it originated from a set of three skillets.