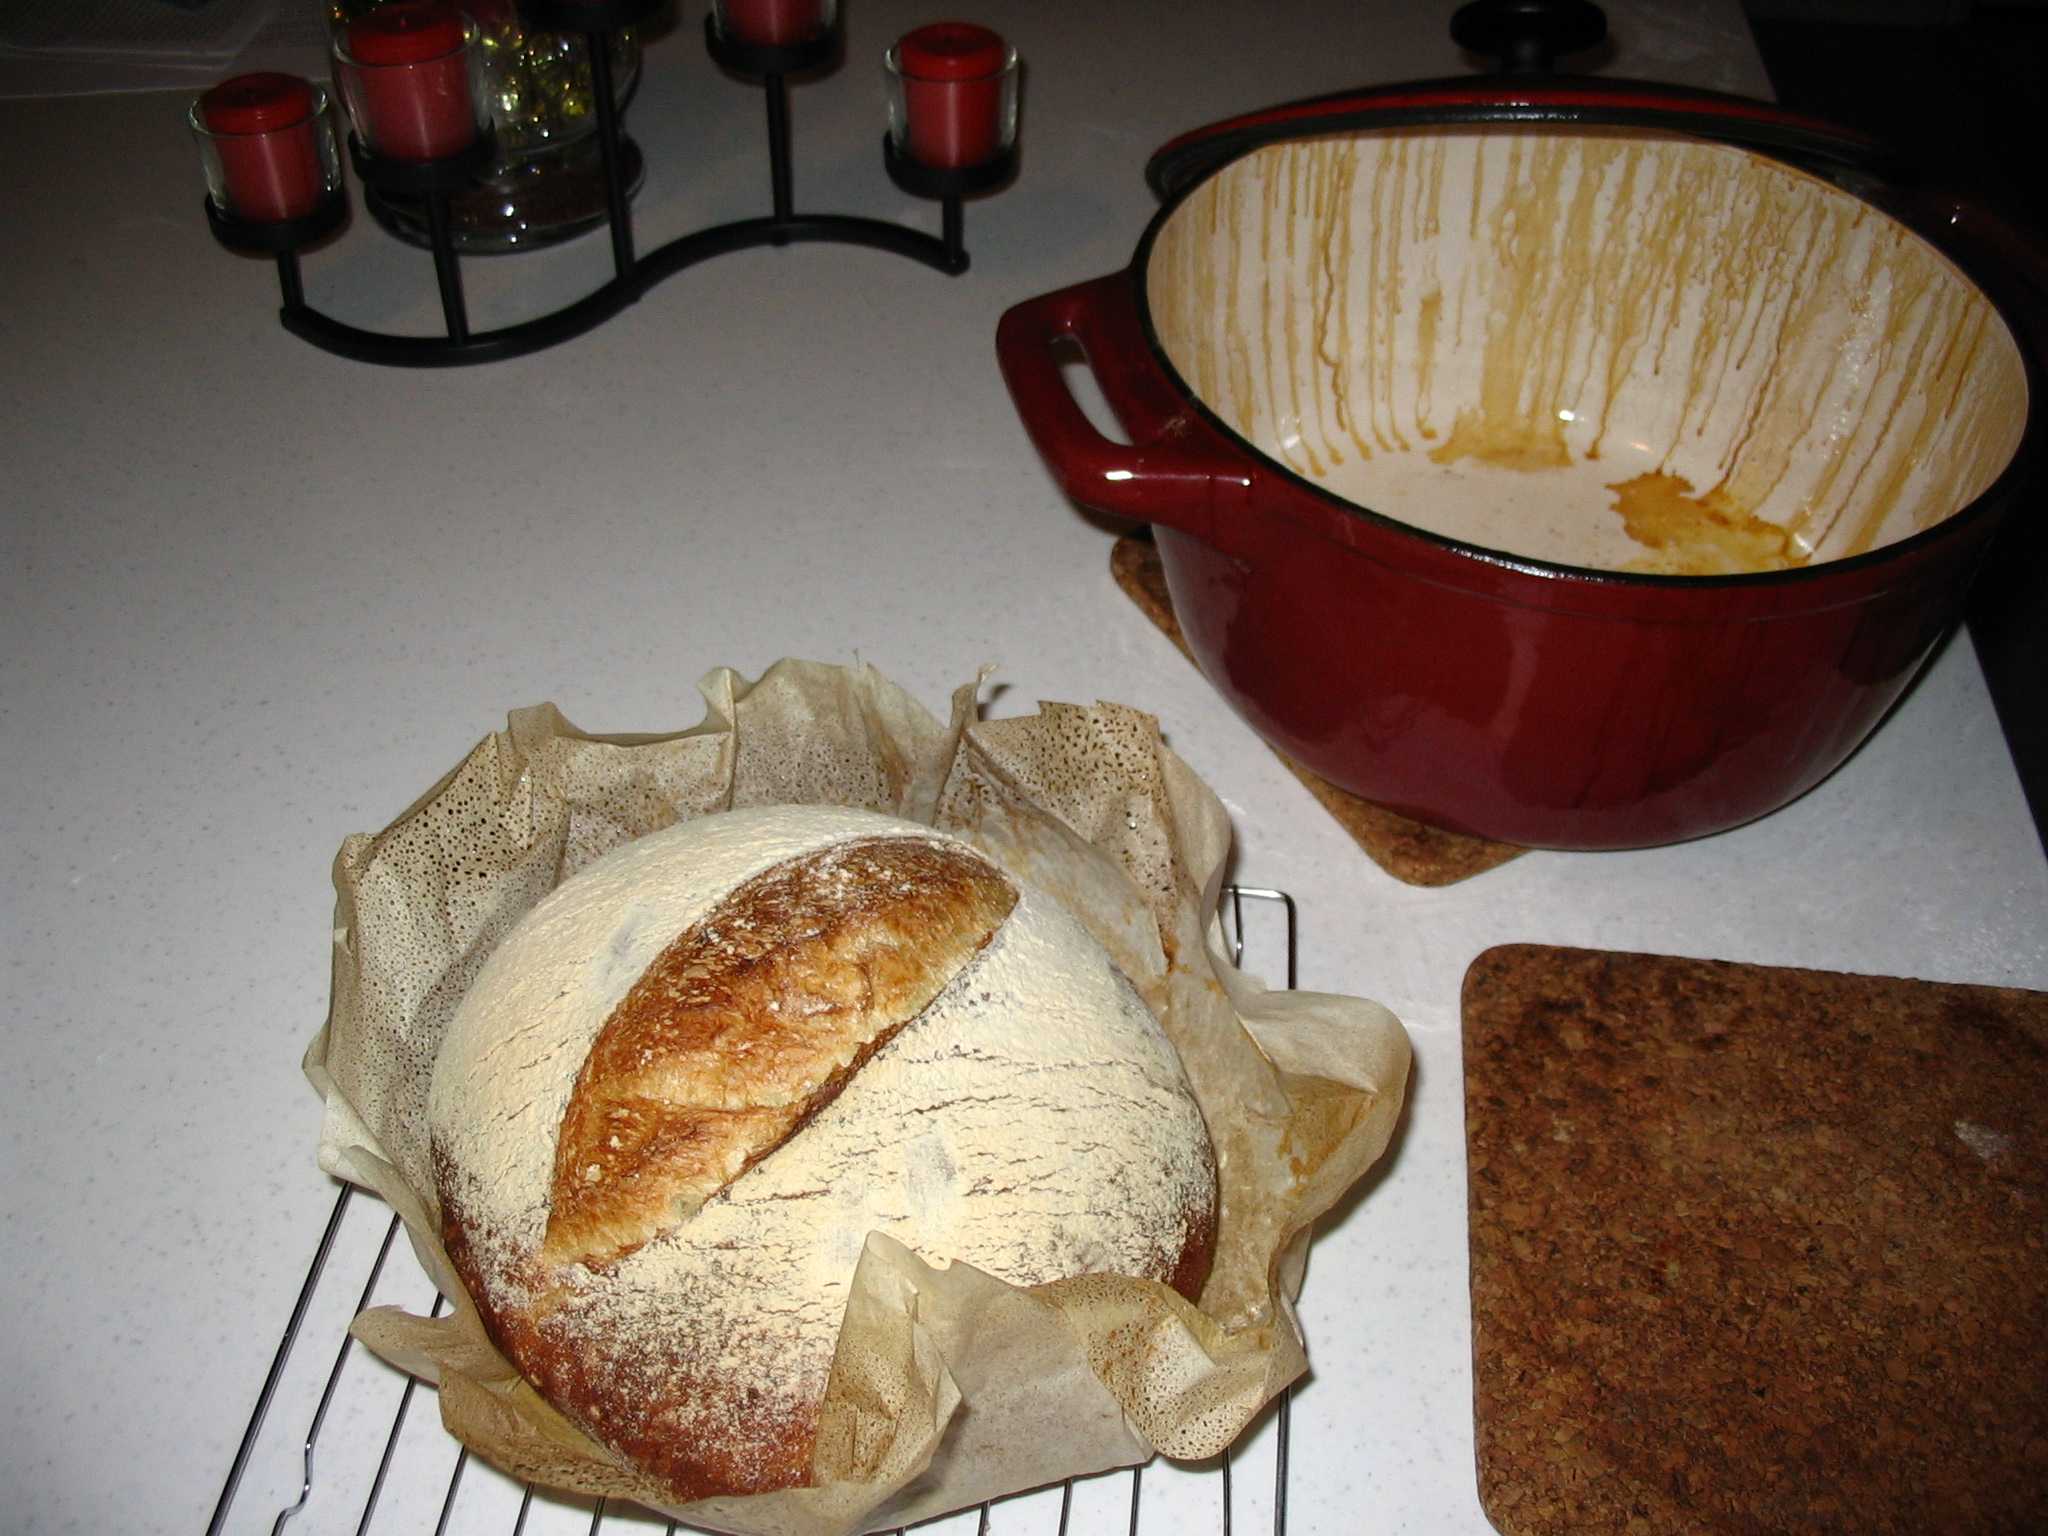
Just for fun, I tried out a recipe for a low-effort bread with lots of flavor. There is almost no kneading involved and no getting your hands dirty. By the way, the illustration here is from my first try of this recipe!
So, how does this bread stack up against my premium, artisan loaf?
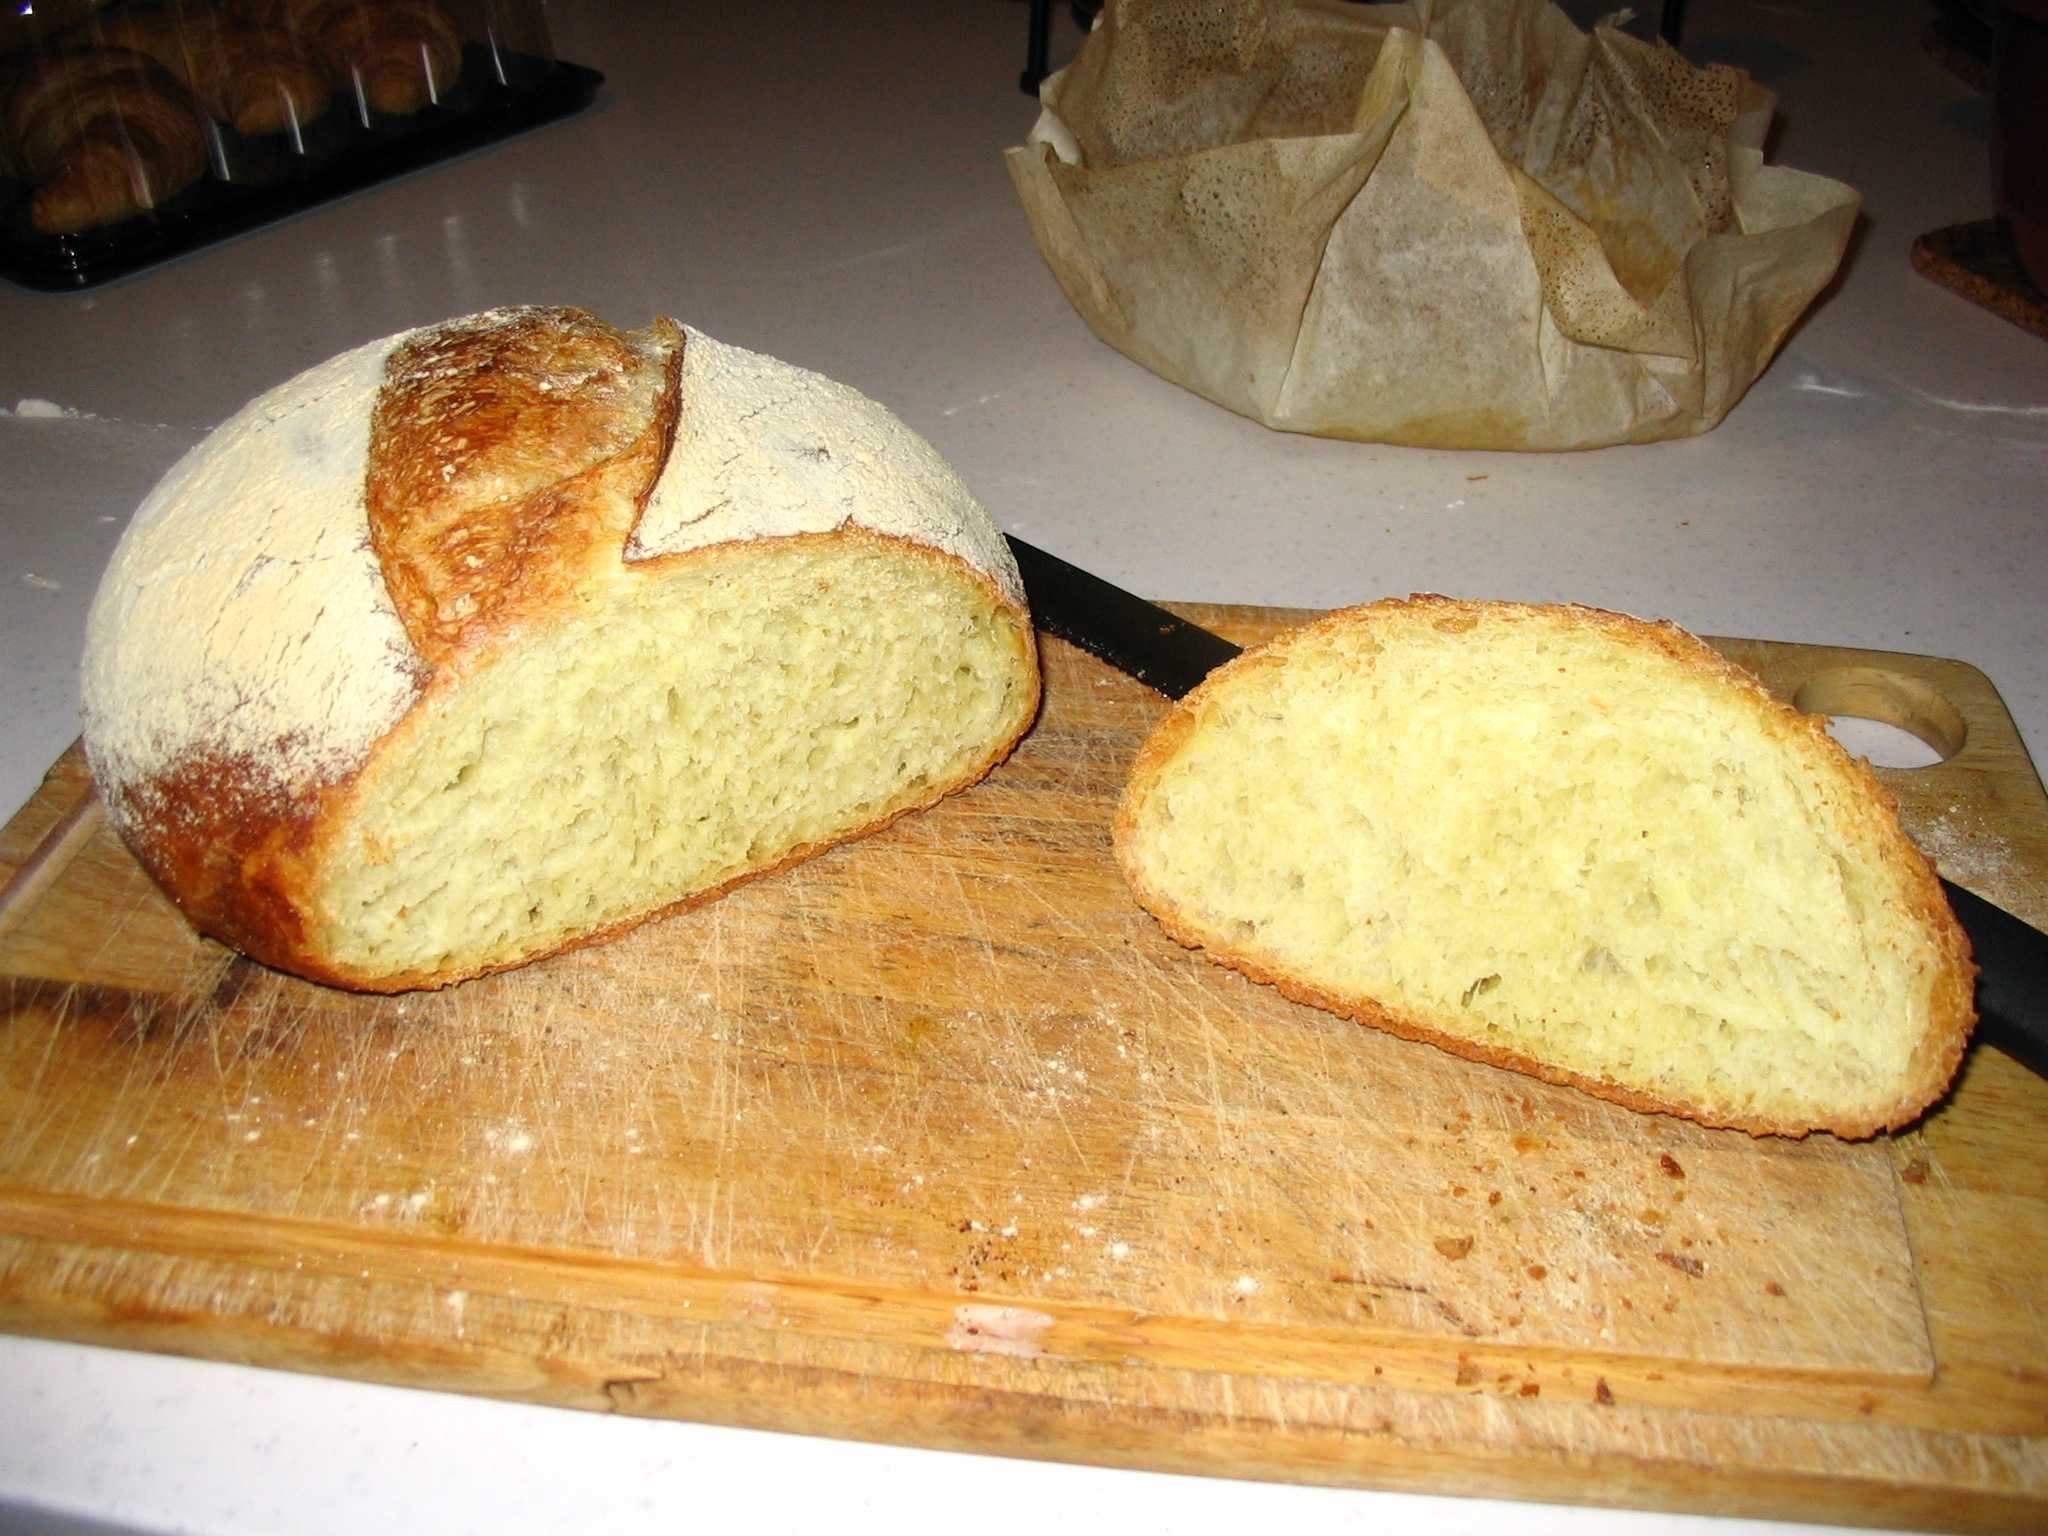
Oh, my, I'm so embarrassed! I have never tasted a loaf with better crust or better flavor. My usual crumb is pretty much equal to this one, but the flavor of this loaf is beyond belief. It isn't the real sour of San Francisco sourdough (which I've NEVER tasted in France, either), but it does have the substance of a country loaf from French bakeries. I'm thinking tonight that another Dutch oven is in my future. And it's a future laid back in the shade: this loaf was almost no work at all!
Yield
1 1-lb loaf.
Ingredients
| 15 oz | all-purpose, unbleached flour | |
| ¼ tsp | instant yeast | |
| 1½ tsp | table salt | |
| ¾ cup | + 2 tbsp filtered water | |
| ¼ cup | + 2 tbsp mildly flavored lager (beer) | |
| 1 tbsp | white vinegar |
The Preparation
1. Mix dry ingredients together with a heavy wooden spoon or scraper, then add wet and make a (ragged) ball of dough. Gather dough together, scraping sides of bowl well, and cover. Leave for 8-18 hours at room temperature to autolyse and ferment.
This takes only a couple of minutes. I bought the Miller beer at a local gas station for $1.69. There is enough in one can to do a loaf every day for a week.
The Rise
2. Prepare a 10" skillet with parchment paper torn or ripped into an 18" diameter circle or a rectangle approximately 12" × 18". Coat the parchment with non-stick cooking spray.
3. When ready to bake, lightly flour a surface, turn the dough ball out on it, knead about 15 times (fold dough over itself and press down with the heel of your hand, turn ¼ and repeat), gather into a ball and place seam-side down on the parchment paper. Let raise about 2 hours or until a finger-poke leaves an impression.
This takes only about 5 minutes—less if you have the parchment ready, etc. of direct, hands-on work plus a couple of hours of baby-sitting. The time to rise isn't supercritical, but you don't want the yeast to have reached its peak and fall nor do you want to bake before the dough has risen well. The small amount of kneading (this recipe originally came to Cook's Illustrated as a strictly no-knead recipe) will help align the gluten chains for a better, more uniform rise with resulting lighter texture in the crumb.
The Bake

4. About ½ hour prior to finishing the rise (good luck with that), preheat the oven to 500° with your Dutch oven inside.
5. When both the oven is hot and the dough raised, dust the top surface of the dough with flour. Remove the Dutch oven from the oven, remove the lid, carefully lift the dough by the parchment paper out of the skillet and set into the Dutch oven. Slit the top of the dough with a razor blade about ½" deep over most of the top (one long gash). Replace the lid and put the whole thing into the oven. Drop the oven temperature to 425°. Bake for 30 minutes. Remove the lid and bake for 20-30 more or until a thermometer probe reaches 210°
While the bread takes an hour to bake, there is only one quick intervention (to remove the lid). This means you've only attended to the bread two or three minutes for the bake.
Temperature caveat: at 4700' of altitude, I've never gotten my bread center to reach 210° without it also getting pretty dark brown or even black. You decide whether it's done and then adjust next time. I shoot for 200°, but often do not make it (and I'm one who enjoys darker baked goods). I pulled the bread in the picture above out at 199°.
The Science
The crust is a no-brainer, I explain that the water vapor expiring from the loaf creates the crust. The Dutch oven is in fact much better at this than the cast-iron skillet trick I use to humidify the whole oven: the vapor escapes pretty quickly. Sure, I've been pleased with my artisan loaf, but this crust is even better.
The flavor is another matter. Now, despite what you might think, the beer and vinegar are totally undetectable. The effect they have, however, along with the longer autolysis and fermentation period, is stupendous. Even my sourdough years ago wasn't this good.
The best part about the equipment used is that a Dutch oven (or two) is absolutely essential to the kitchen. Many great dishes can be done in it. I replaced my hugely expensive French Le Creuset that was all chipped and discolored with a Tramontina 6.5 quart from WalMart for $40.