How I Do Q
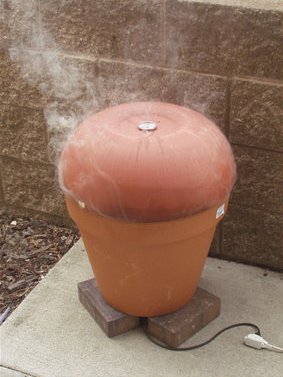
I built the smoker on Alton's episode of Good Eats entitled "Q" out of a hotplate, flower pot, etc., but couldn't get it to heat more than 140° so I smoked the pork roast, then popped it into a crock pot (slow cooker) at 200° for about 9 hours. Then end result was somptuous.
Using a pan on the hotplate, I found I couldn't get any smoke because insufficient surface area of the wood chips came in contact witht he heat. Placing an old 7½" circular sawblade directly on the hotplate and carefully setting the woodchips to have maximum surface contact on the sawblade solved the problem of getting no smoke. I failed to find a solution to not getting enough heat out of the unit. I ended up smoking one evening from 23h00 until 5h00 the next morning.
Ultimately, I paid just over $60 for the flower pot smoker with most of the money spent between the two pots ($25 and $20). It may be that a different hot plate would have given better results. (This is a picture of someone else's Alton smoker; I was too lazy to get mine back out and photograph it.) A costly experiment.
A few weeks later, after doing a bit of smoking under these trying circumstances, I allowed my wife to get me a commercial electric smoker she had found for less than $80. I have been quite pleased with the result. The unit does get hot enough to cook (as high as 220°).
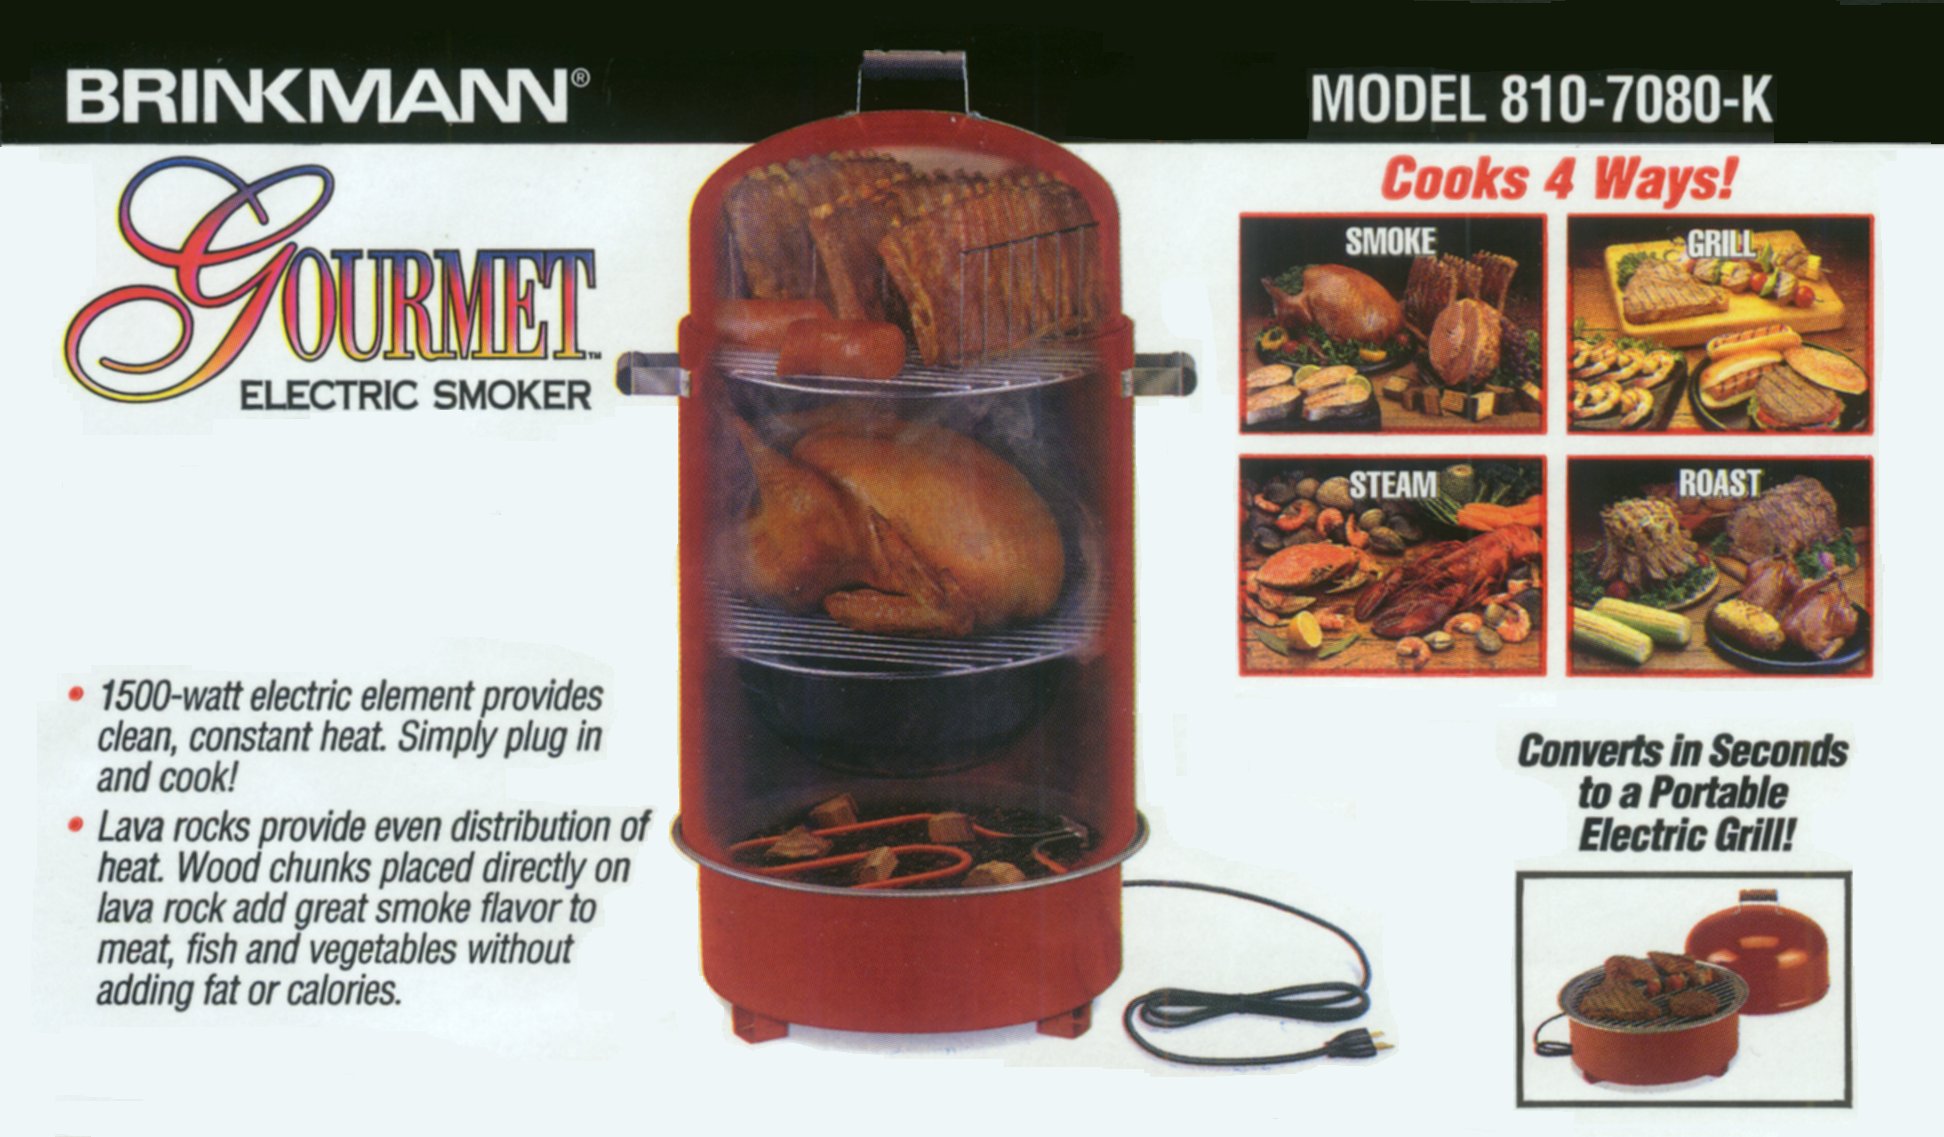
In the bottom of the unit (click on the image here), a large electric element heats crushed lava rock on which one sets chunks of hickory. Just above is a one-gallon bowl of water (or other liquid which the manufacturer claims will add additional flavor to the meat—I remain skeptical). Immediately above the water is the first grill; above that is a second grill, then the lid. There is twice the room for Q in this set up as in the flower pot smoker I had.
However, I have so far not trusted it to cook all the way yet as using a crock pot with a little broth in the bottom has become a safe, tried and true solution for me: the result is never dried out. I've done ribs, pork shoulder and brisket. All turn out delicious.
Maintenance
Try always to soak the woodchips (or chunks) for an hour or so before smoking. This makes them last longer and makes the smoking environment a little moister, at least at first.
As the unit ages, I get more careless because of how inexpensive it is. The first thing to go is the little rocks. They don't wash up well and are a pain to clean. I just rinse them a bit. If you can keep the rocks and wood ash from getting wet, you can blow it out to clean it. However, if it rains before you clean it or you spill liquid from the bowl, you've got the mess.
One answer to the problem—and I'm going to try it with my next smoker—would be always to use smaller wood chips and put them into a foil packet with holes punched in. Sure, the foil is going to be destroyed somewhat but it will keep the mess in one place. Maybe. We'll see.
I put woodchips directly in contact with the heating element contrary to instructions (it's hard to avoid). I've never had a mishap.
The paint on the inside of the unit will come off in flakes; there seems to be little that can be done. It doesn't get very hot, but attempting to limit the heat doesn't solve the problem—just scrap it off when you see it.
The most disappointing aspect of the smoker is that a little hole was worn into the bowl in very quick order probably because the bowl is too light gauged. It only holds water up to the hole, obviously. I just don't fill it up above it anymore.