Shokupan Japanese fluffy white bread
Shokupan is one of the staple Japanese breads that you can find at any grocery store in Japan. The size is always the same, but it comes in varieties of thickness.
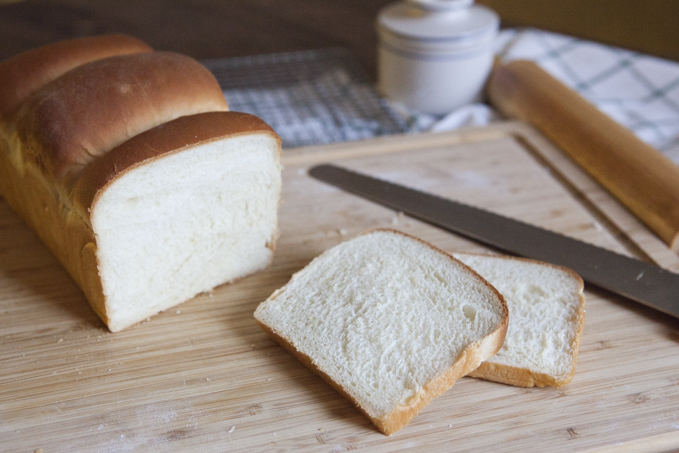
Shokupan comes in two shapes, one is square and the other comes with a rounded top like a mountain. It's called yamashoku. (Yama means mountain; c.f.: Fujiyama.)
The squared one is moister and denser compared to the yamashoku because it's baked with a lid on the loaf pan and the moisture tends to stay in the paton during baking.
Yamashoku is lighter in texture, perfect for toast.
Ingredients
| 625 g (22 oz) | bread flour |
| 30 g (3 tbsp) | sugar |
| 12 g (2½ tsp) | salt |
| 8 g (2 tsp) | active dry yeast |
| 450 ml lukewarm (38° C/100° F) | water |
| 35 g (3 tbsp) | unsalted butter |
Preparation
1. Put all the dry ingredients into a stand mixer bowl.
While the mixer running, add in water in slow and steady stream.
It's always a good idea to scrape down the side.
Knead for 10 minutes or until the gluten develops.
When you stretch the dough, if it stretches very thin, it's
okay to proceed.
2. Add room temperature butter.
Knead another 2 to 3 minutes until the dough comes back together.
3. Grease the bowl with a couple of drops of vegetable oil or oil spray.
Shape your dough into a bowl and cover with a plastic wrap.
Let it rise in a warm spot for 30 to 45 minutes.
4. After 30 minutes, the dough should have puffed up a little bit.
Punch the dough down.
Fold the edges of the dough into the center and shape into a ball again.
What this does is release the gas and take fresh air into the
dough that will activate the yeast even more.
5. Let it rise for 30 to 45 minutes until it doubles.
6. If you poke the dough with your finger and it doesn't spring back, it has
proofed enough.
Roll out the dough out on the dusted working surface and divide
into 4.
7. Shape into a ball, cover with plastic wrap to prevent drying out.
Let the patons relax for 15 minutes.
Bench rest makes the dough easier to shape because you're no
longer fighting the gluten.
8. After 15 minutes, take out the rested dough and shape it into a ball.
Roll out the dough and fold from top and bottom, like a letter.
Roll it up while stretching the surface; be careful not to
break the surface. Pinch it to seal the end.

9. Put it into the same greased loaf pan side by side.
Make sure of the direction you rolled the dough: looking at the
pan from the side, you should see it like this so the patons strive
equally against each other during baking.
10. Cover with a plastic wrap and let it rise in a warm spot for 45 to 50 minutes or until half an inch below the edge of the pan.
11. Preheat the oven to 190° C (420° F) Cover the pan with its lid (if you have that kind of loaf pan) and put it into the oven for 40 minutes. Take it out from the pan and put on a wire rack to cool completely.